Our detailed installation instructions and videos show you how to install our flooring. In these step by step instructions for our flooring click systems CLIC it! and UniZip, we tell you how to install our flooring and what you must take into account when doing so.
In what ways can you install flooring?
In general there are two different ways of installing an EGGER floor. The installation method is based on the flooring type, the flooring composition and the application area, in other words the space where the flooring is being installed.
You can install all EGGER flooring in residential living areas and in commercial spaces as a floating installation. Alternatively the moisture-resistant NatureSense Aqua+ Laminate flooring can be permanently glued over the full surface. Please take note of the information on the product packaging and the instruction leaflet.
Floating installation:
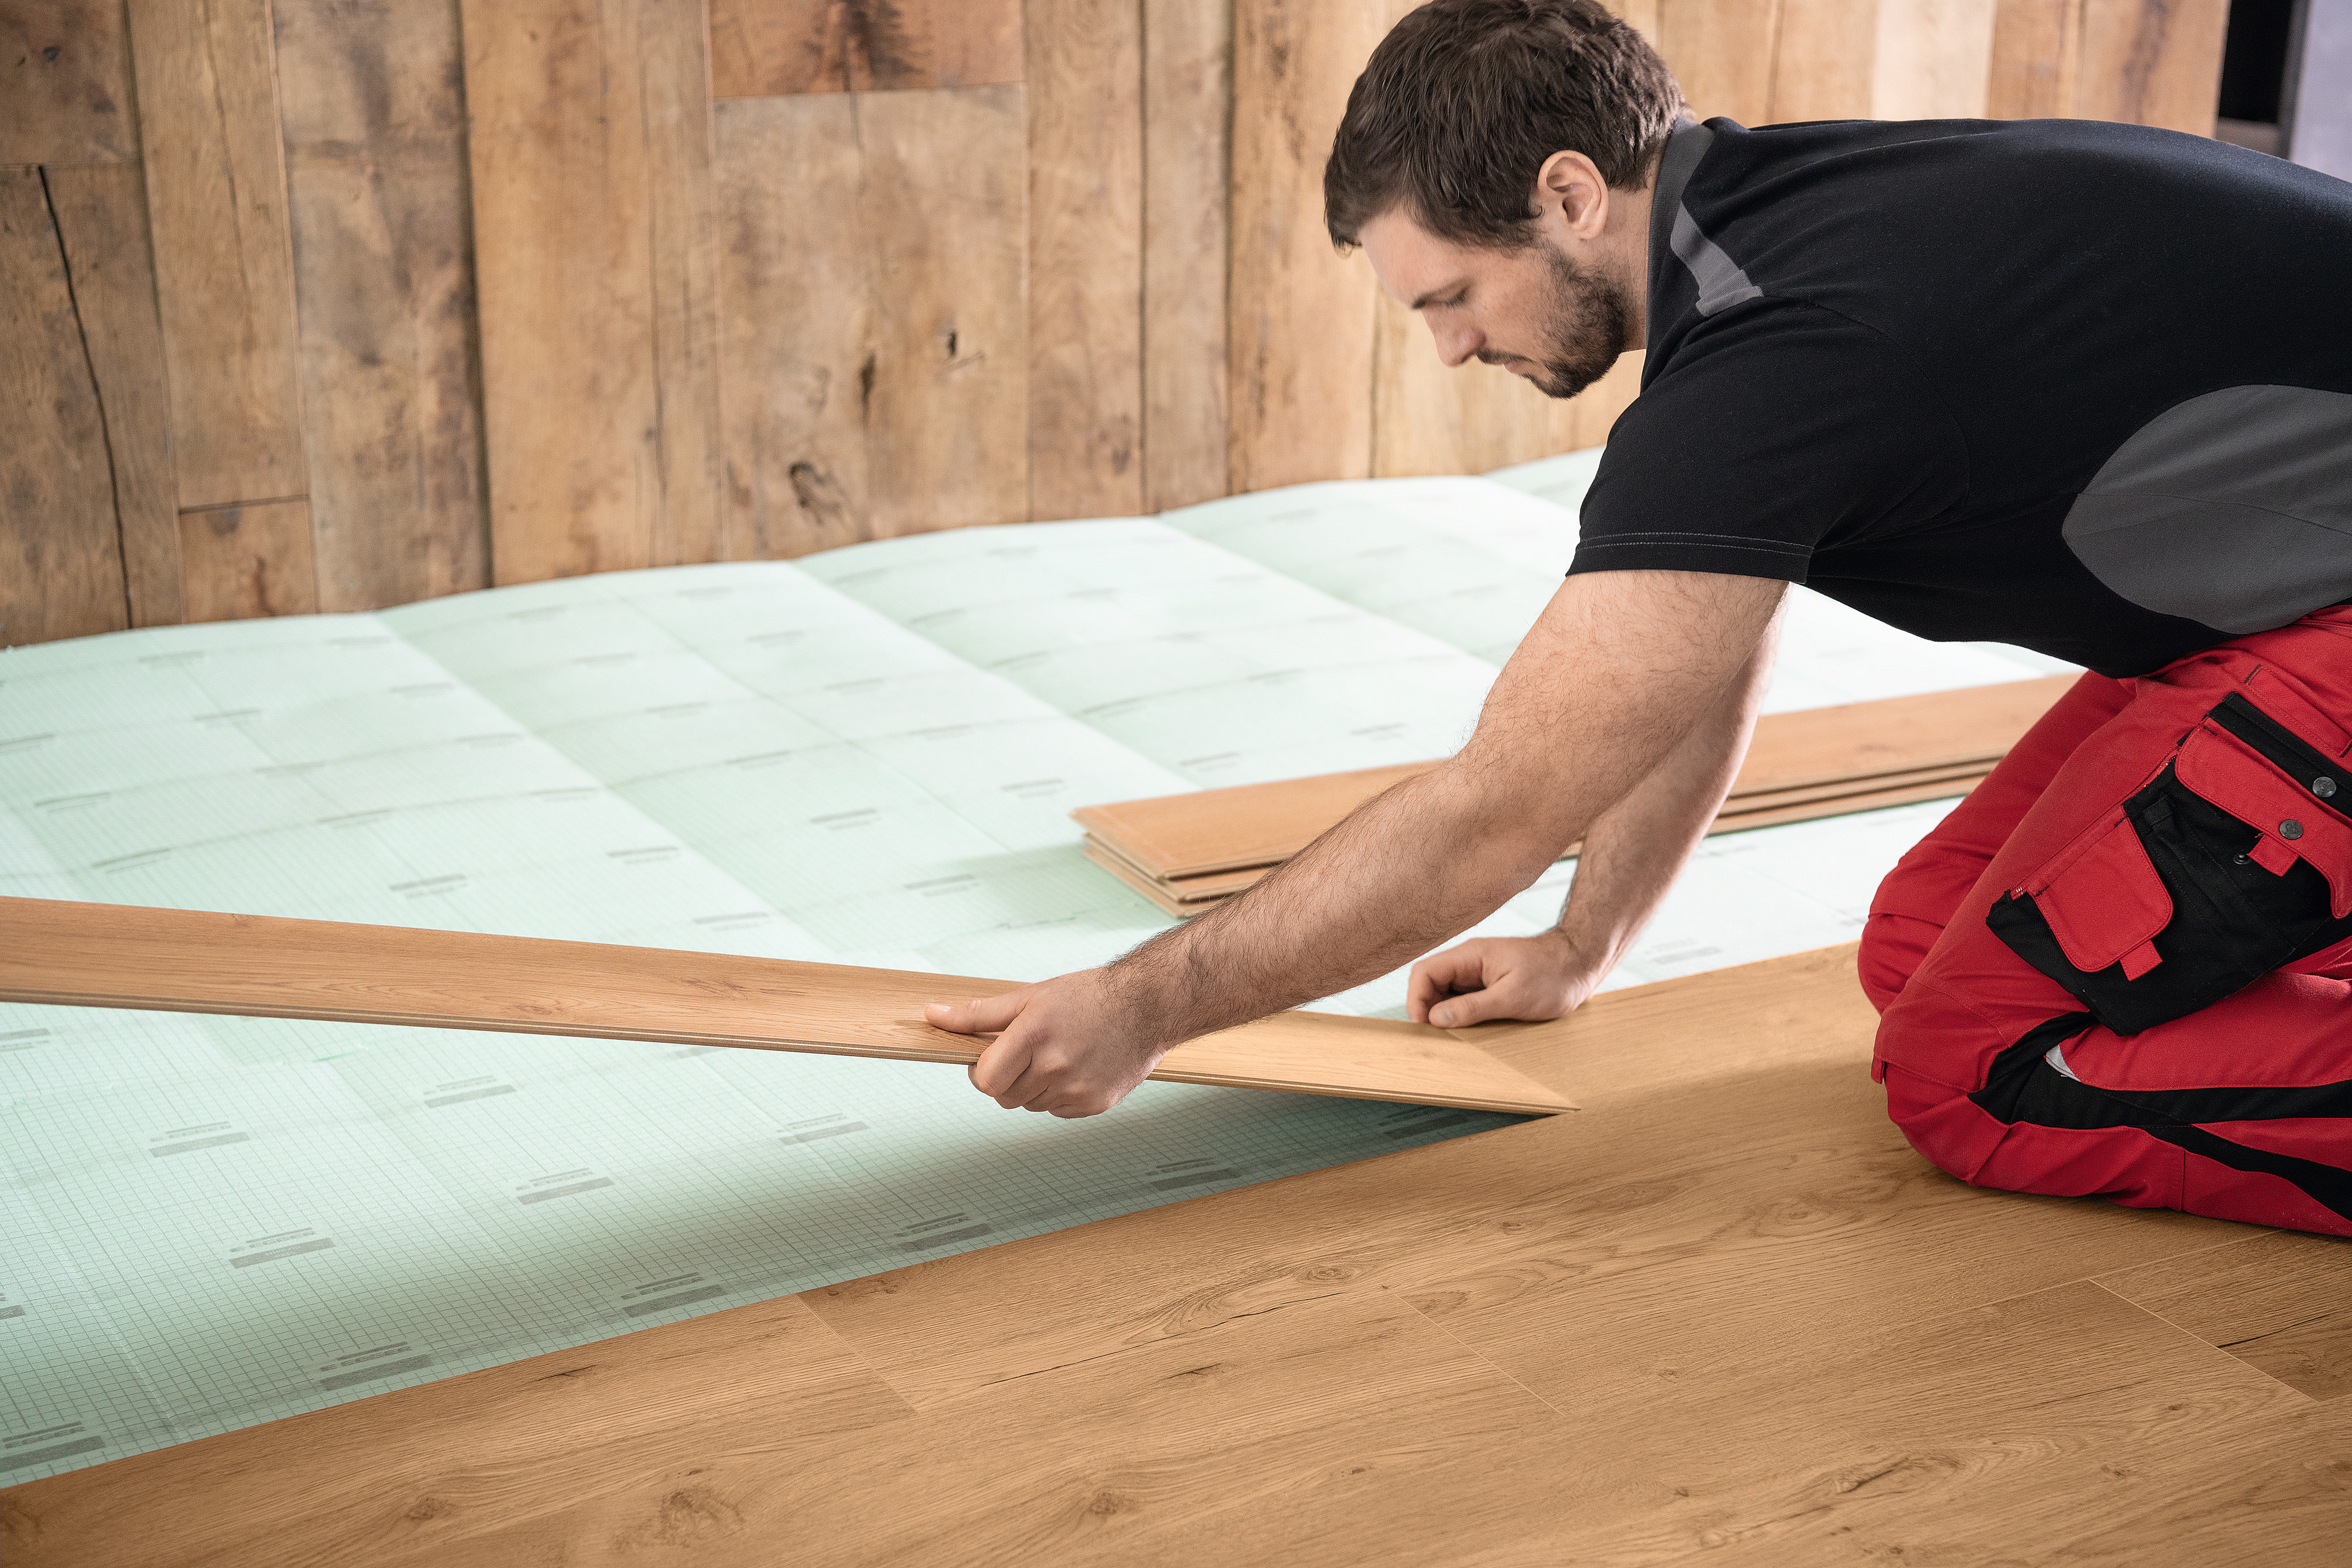
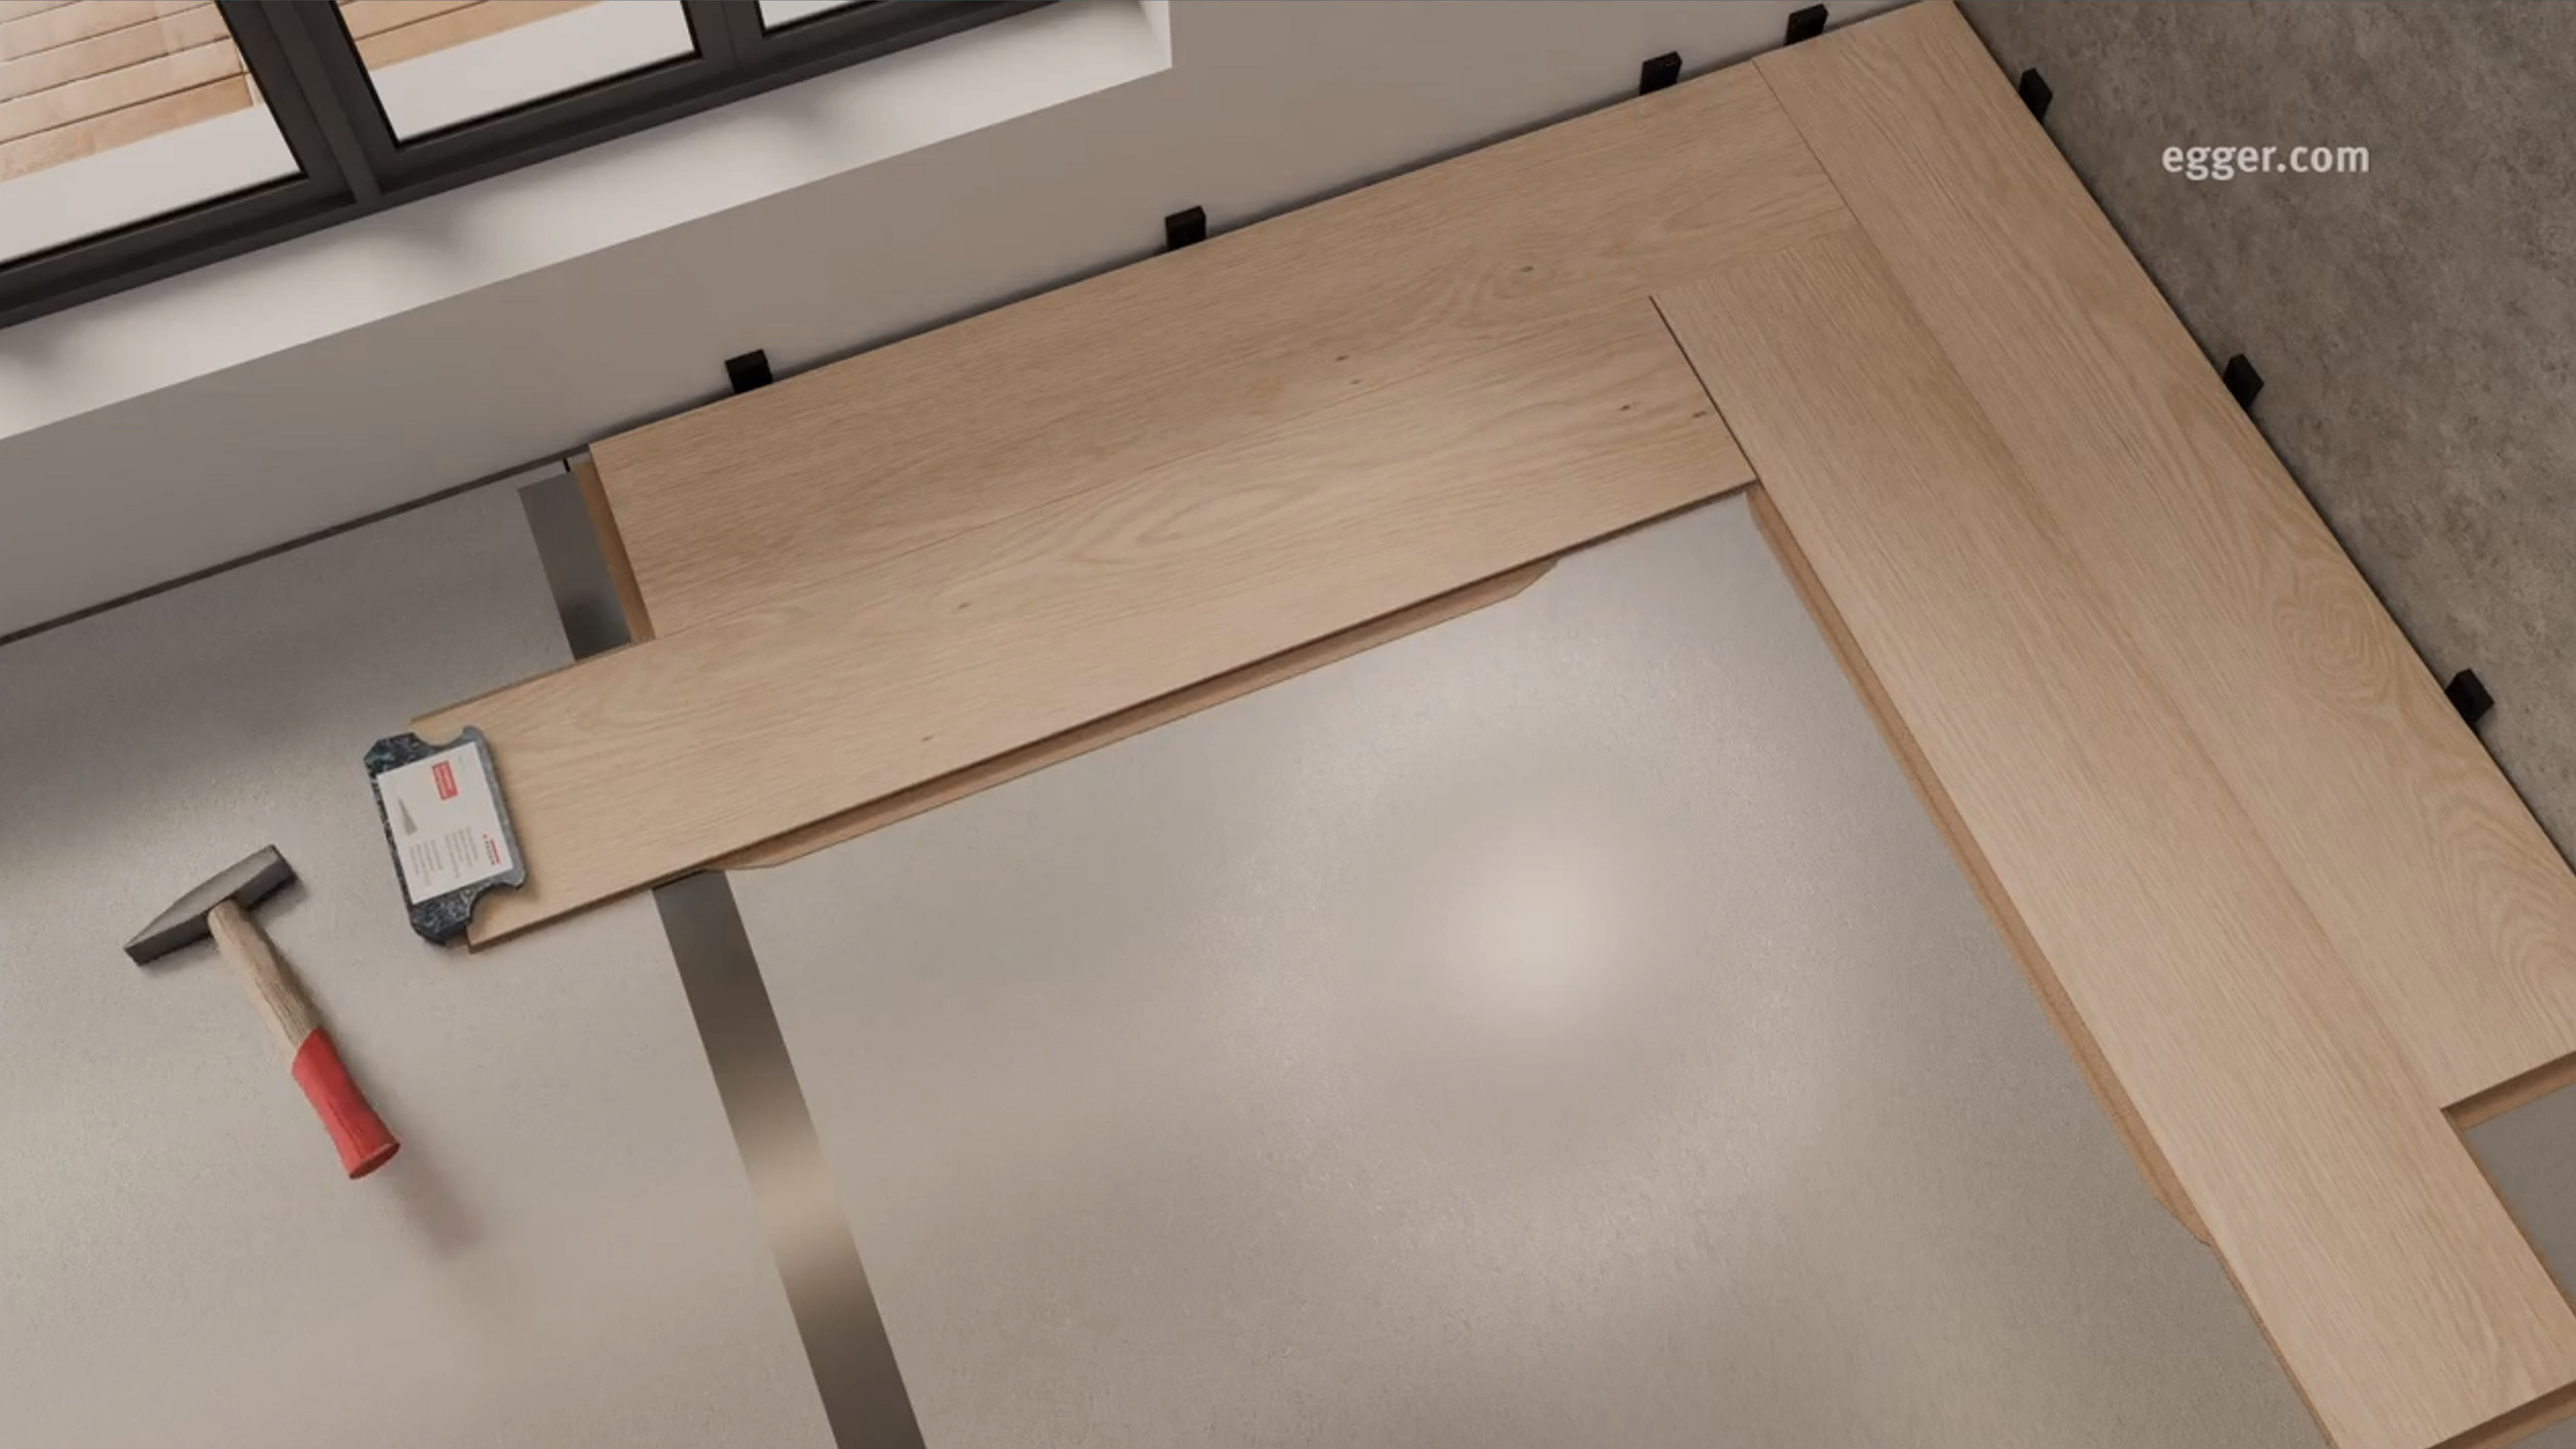
With this type of flooring installation, nothing is glued or screwed down. The individual flooringboards are simply connected together with the help of our flooring click systems. The flooring rests on the subfloor without a firm bond and can move freely. This is why we talk about “floating installation” here. Thanks to the EGGER flooring click systems, a floating installation is simple, quick and flexible.
Full-surface gluing:
In the case of full-surface gluing, the flooring is bonded with the subfloor using adhesive. The individual floor boards are firstly connected together with our CLIC it! flooring click system and then placed individually into the adhesive bed and pressed down. Full-surface gluing improves the ambient noise and walking comfort and is particularly suitable for installations over a large area.
Installing EGGER flooring
Here you will find an overview of how you can install our different types of flooring.
|
Product
|
Flooring click system
|
Installation method
|
Installation instruction
|
| NatureSense Laminate Flooring | CLIC it! | floating | Installation instructions (PDF) |
| NatureSense Aqua+ Laminate Flooring | CLIC it! | floating / glued | Installation instructions (PDF) |
| NatureSense Herringbone Laminate Flooring | UniZip | floating | Installation instructions (PDF) |
| AquaDura Hybrid Flooring | CLIC it! | floating | Installation instructions (PDF) |
Floating Installation with the CLIC it! and UniZip installation system
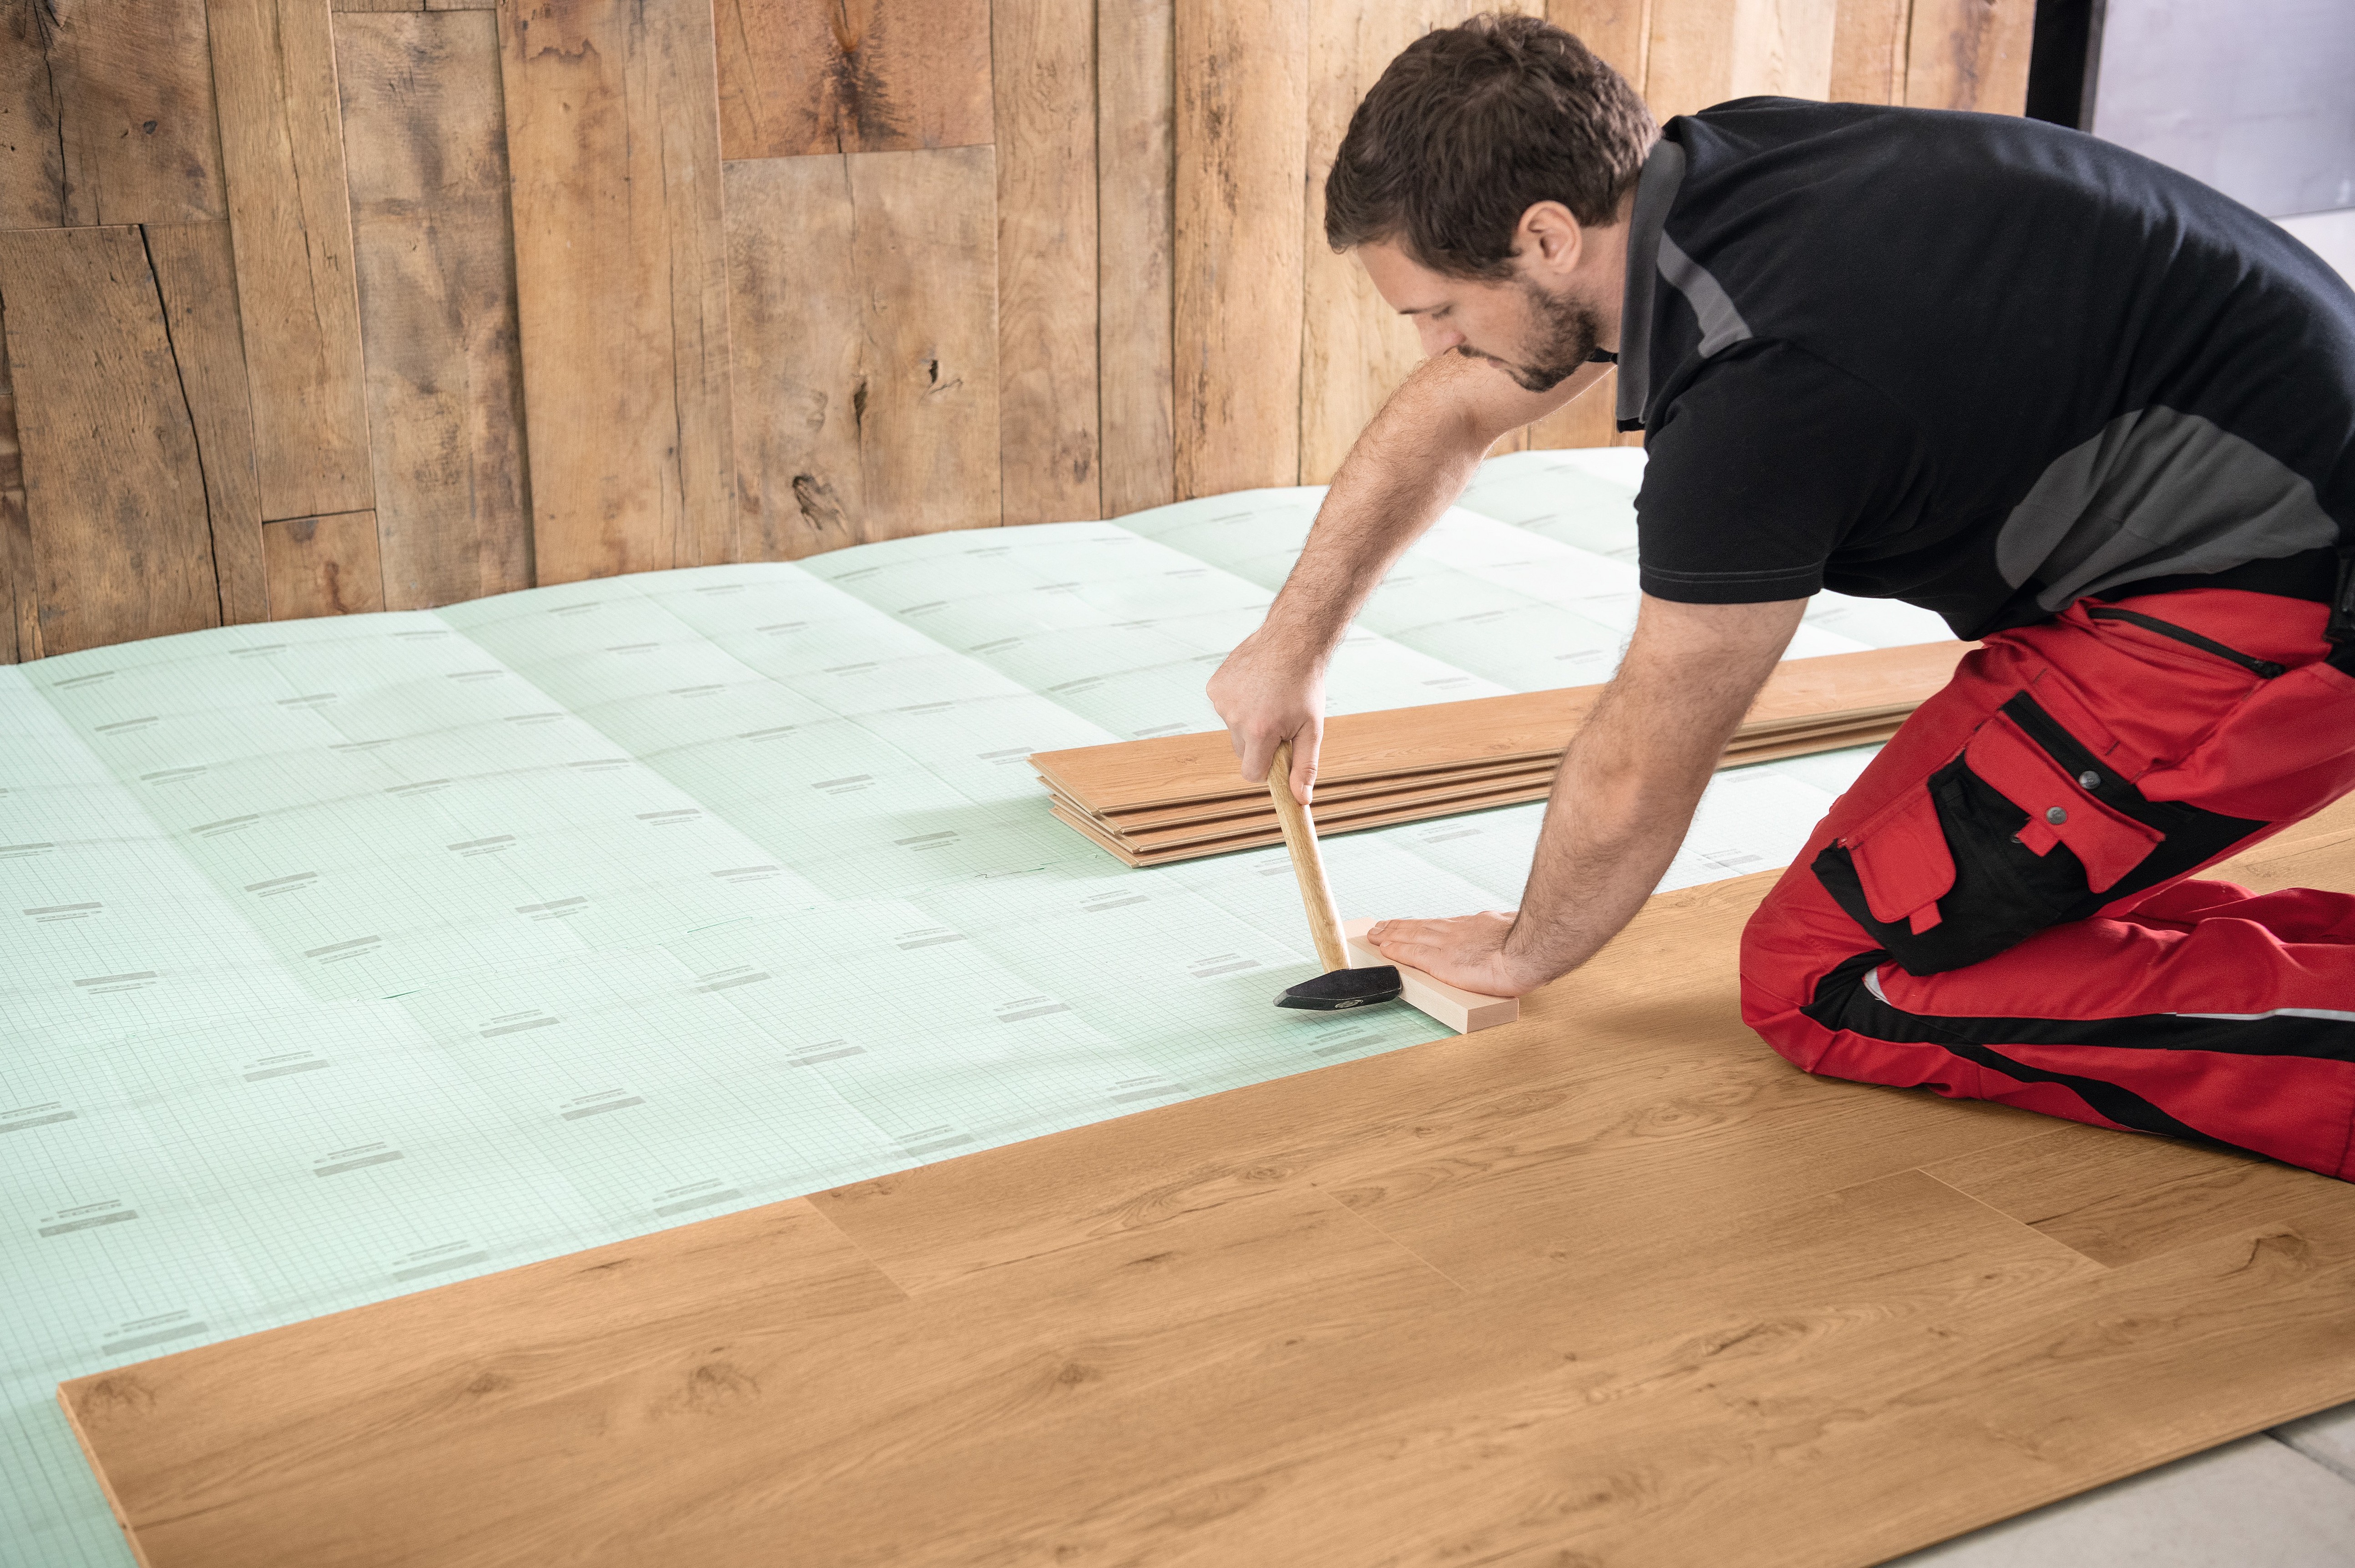
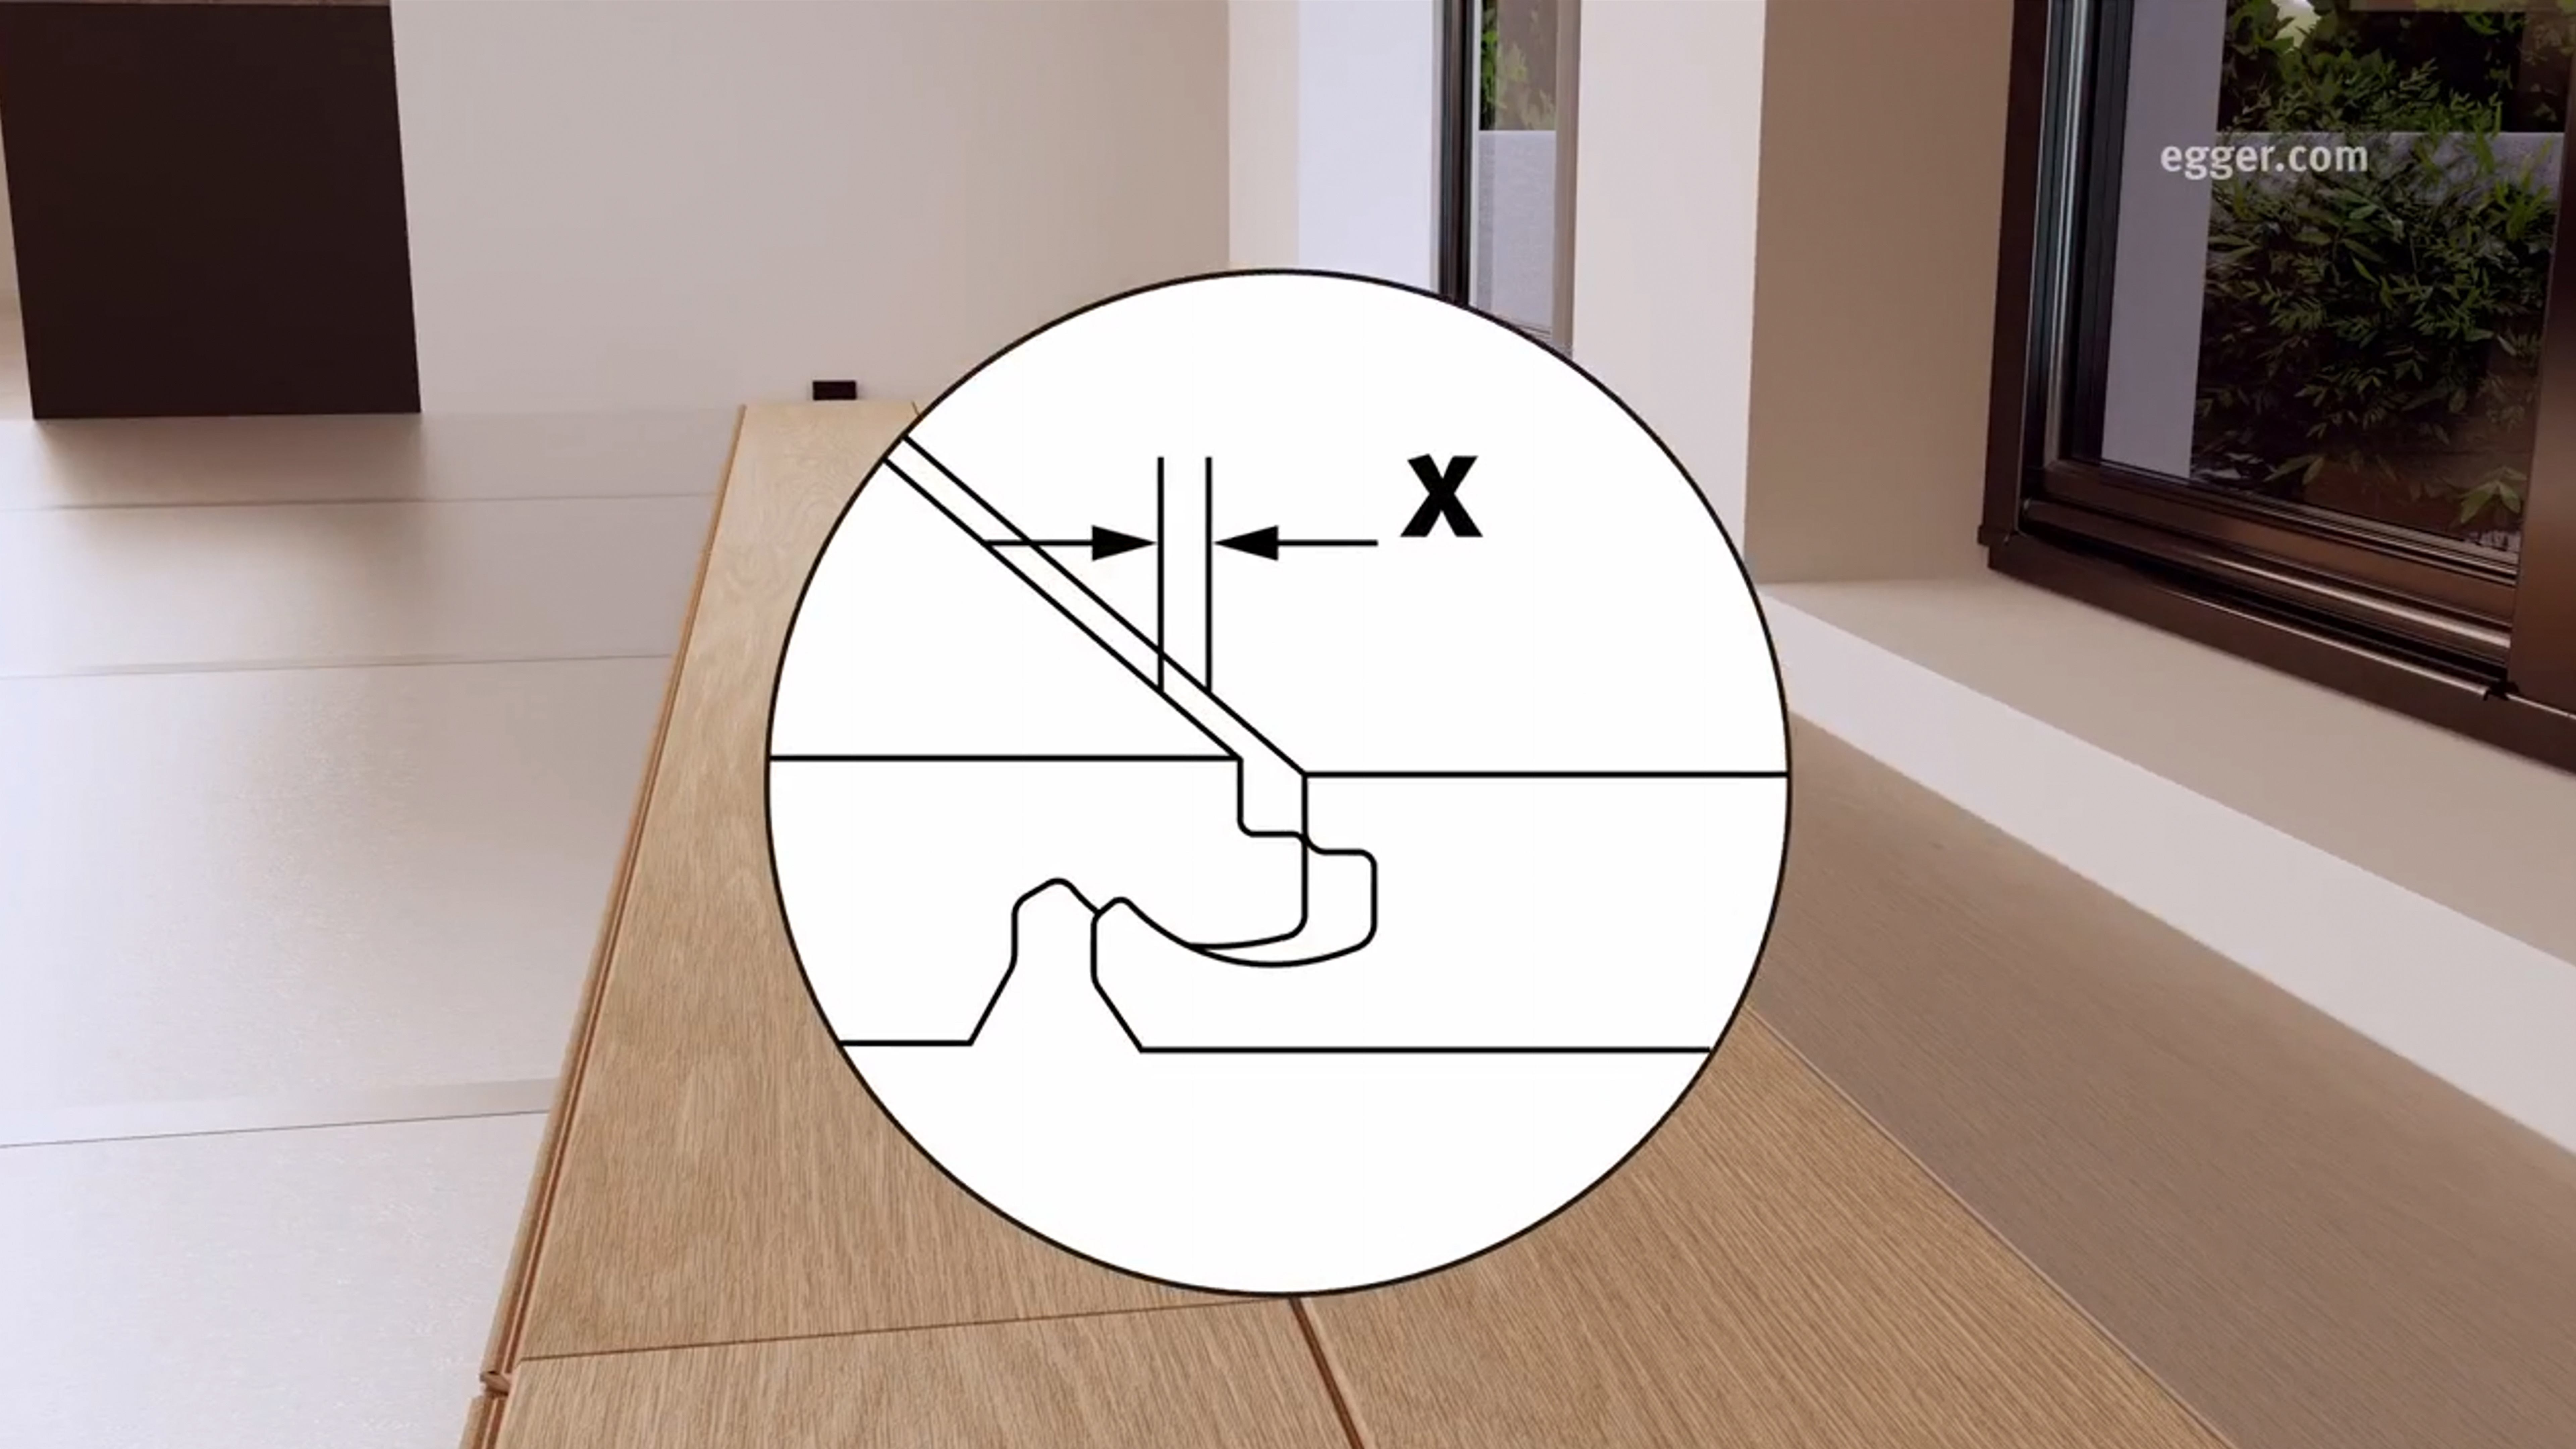
- CLIC it! and UniZip flooring installation system, which you can angle or tap at the header side.
- The system is multifunctional and saves time during installation because more than one person can work simultaneously.
- The flooring installation is done element by element resulting in a stable surface.
- You thereby achieve an excellent surface stability.
- The flooring can be used immediately after floating installation.
Installation of skirting boards
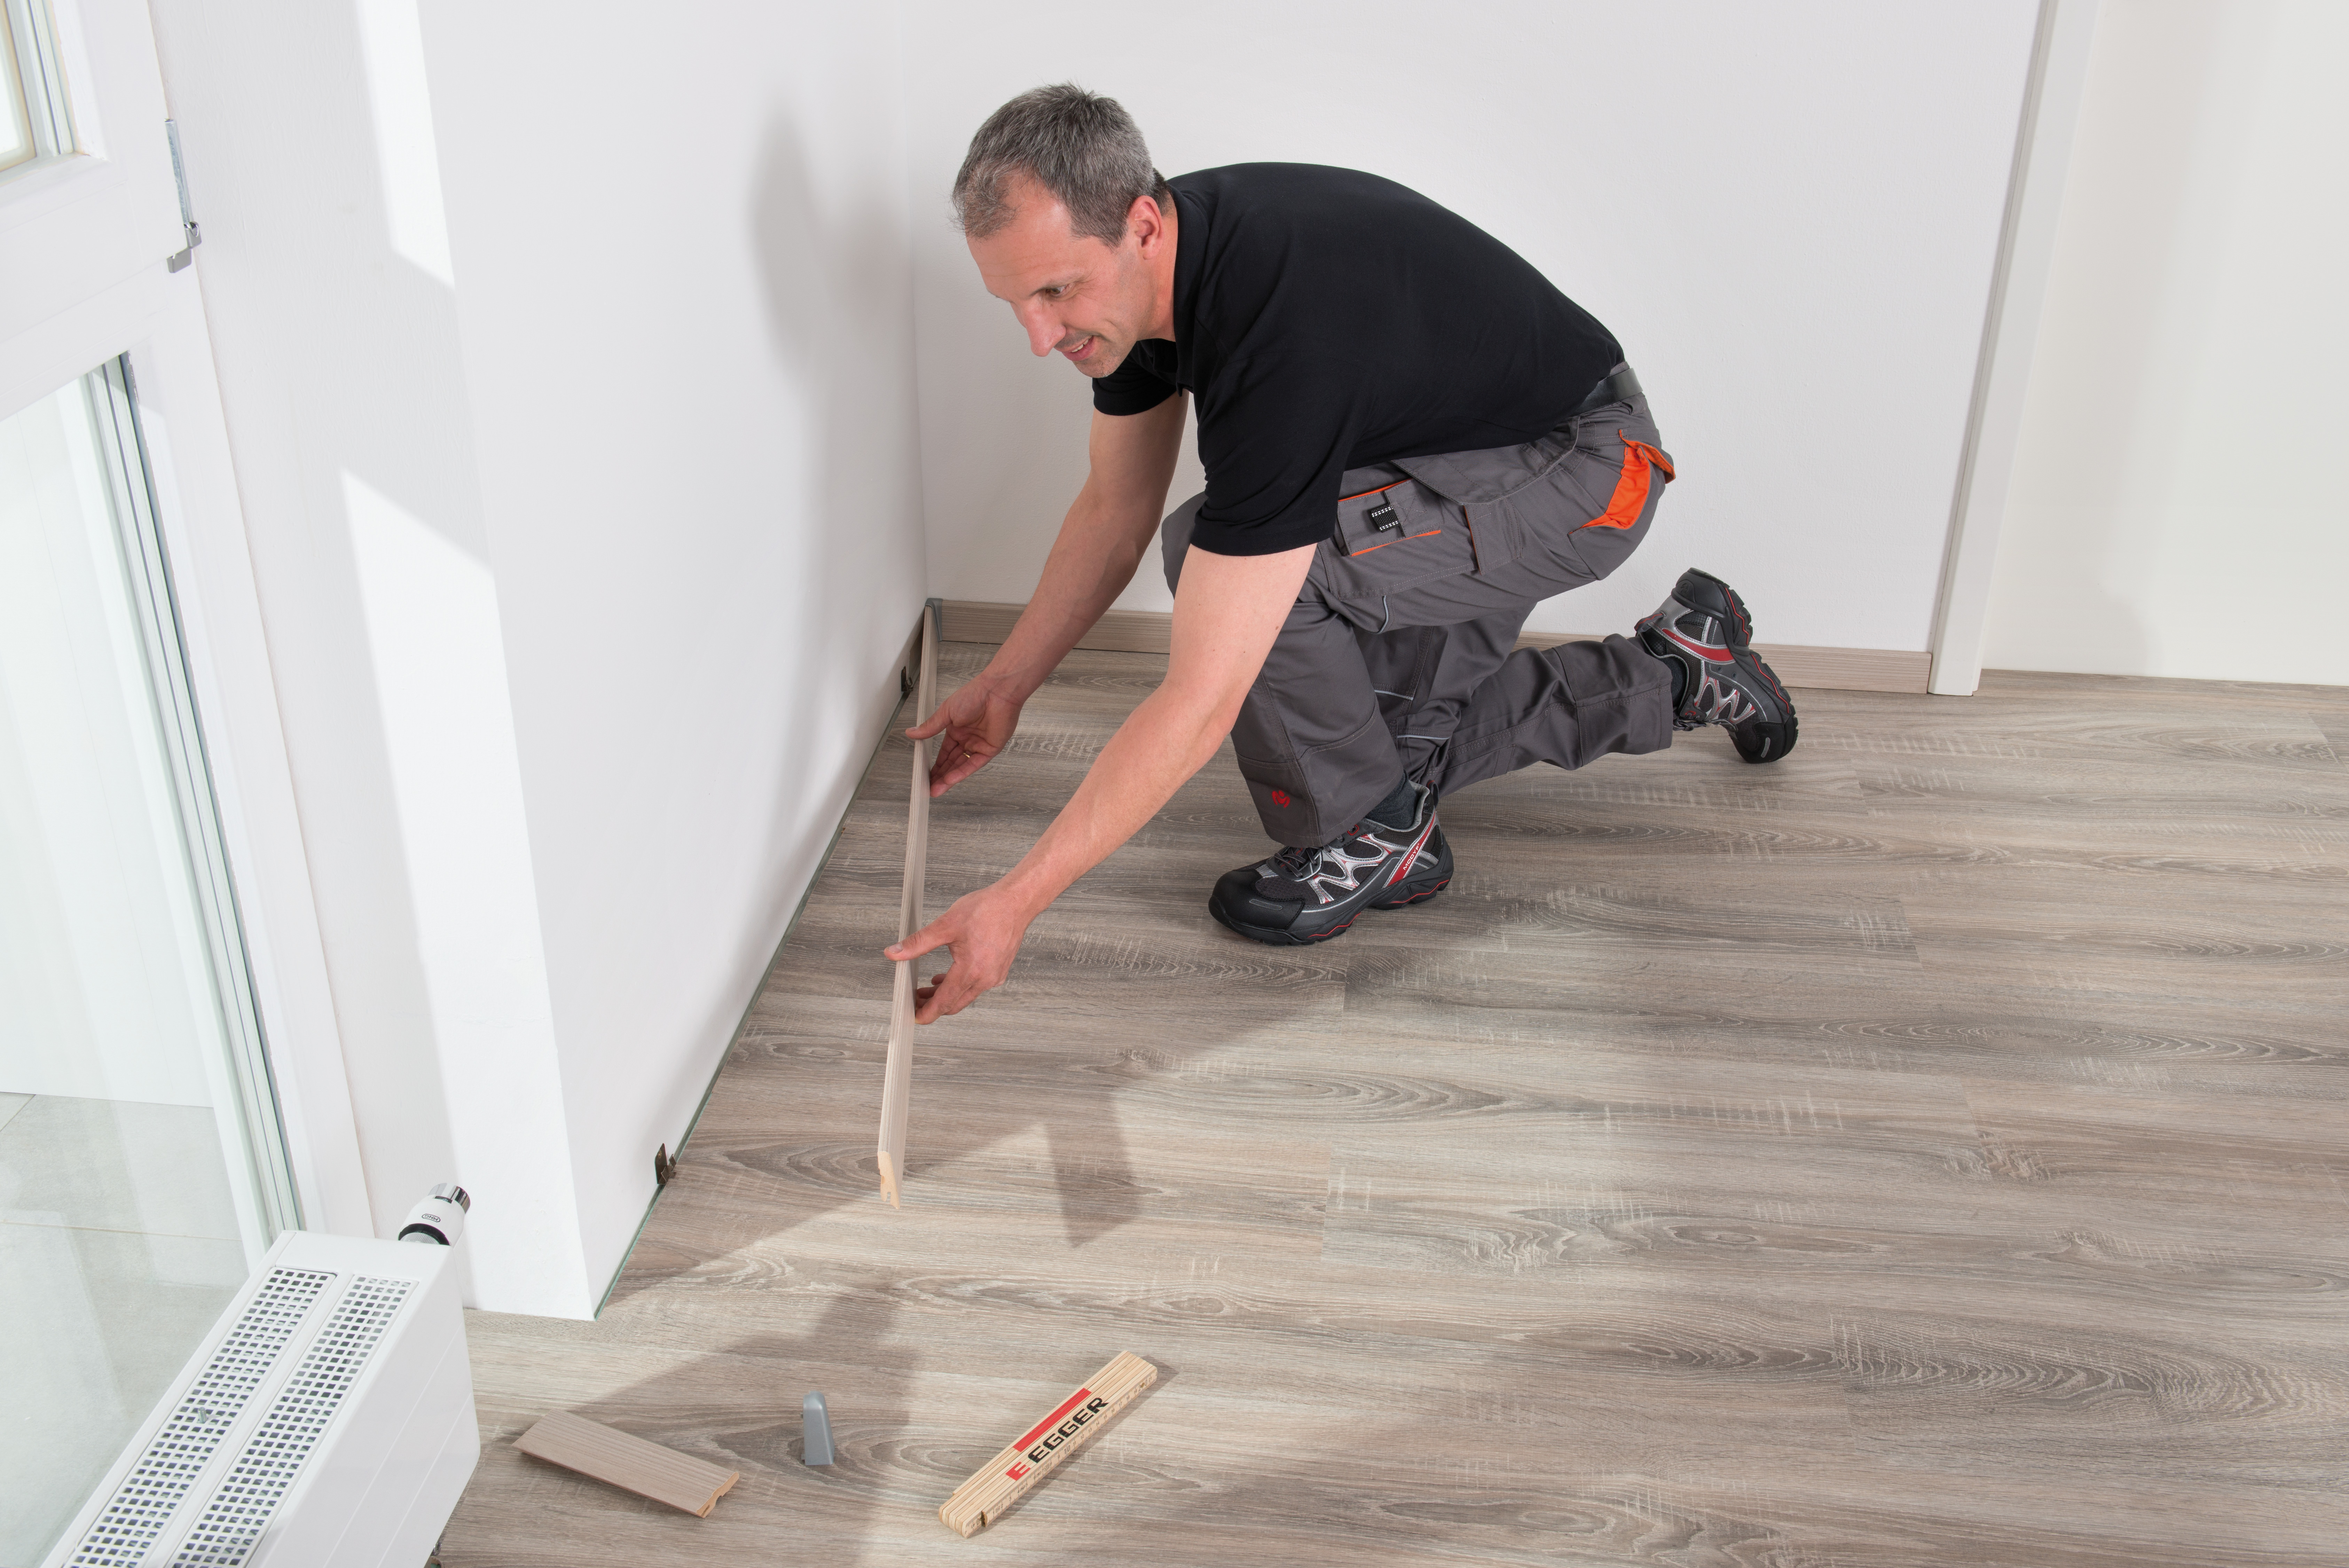
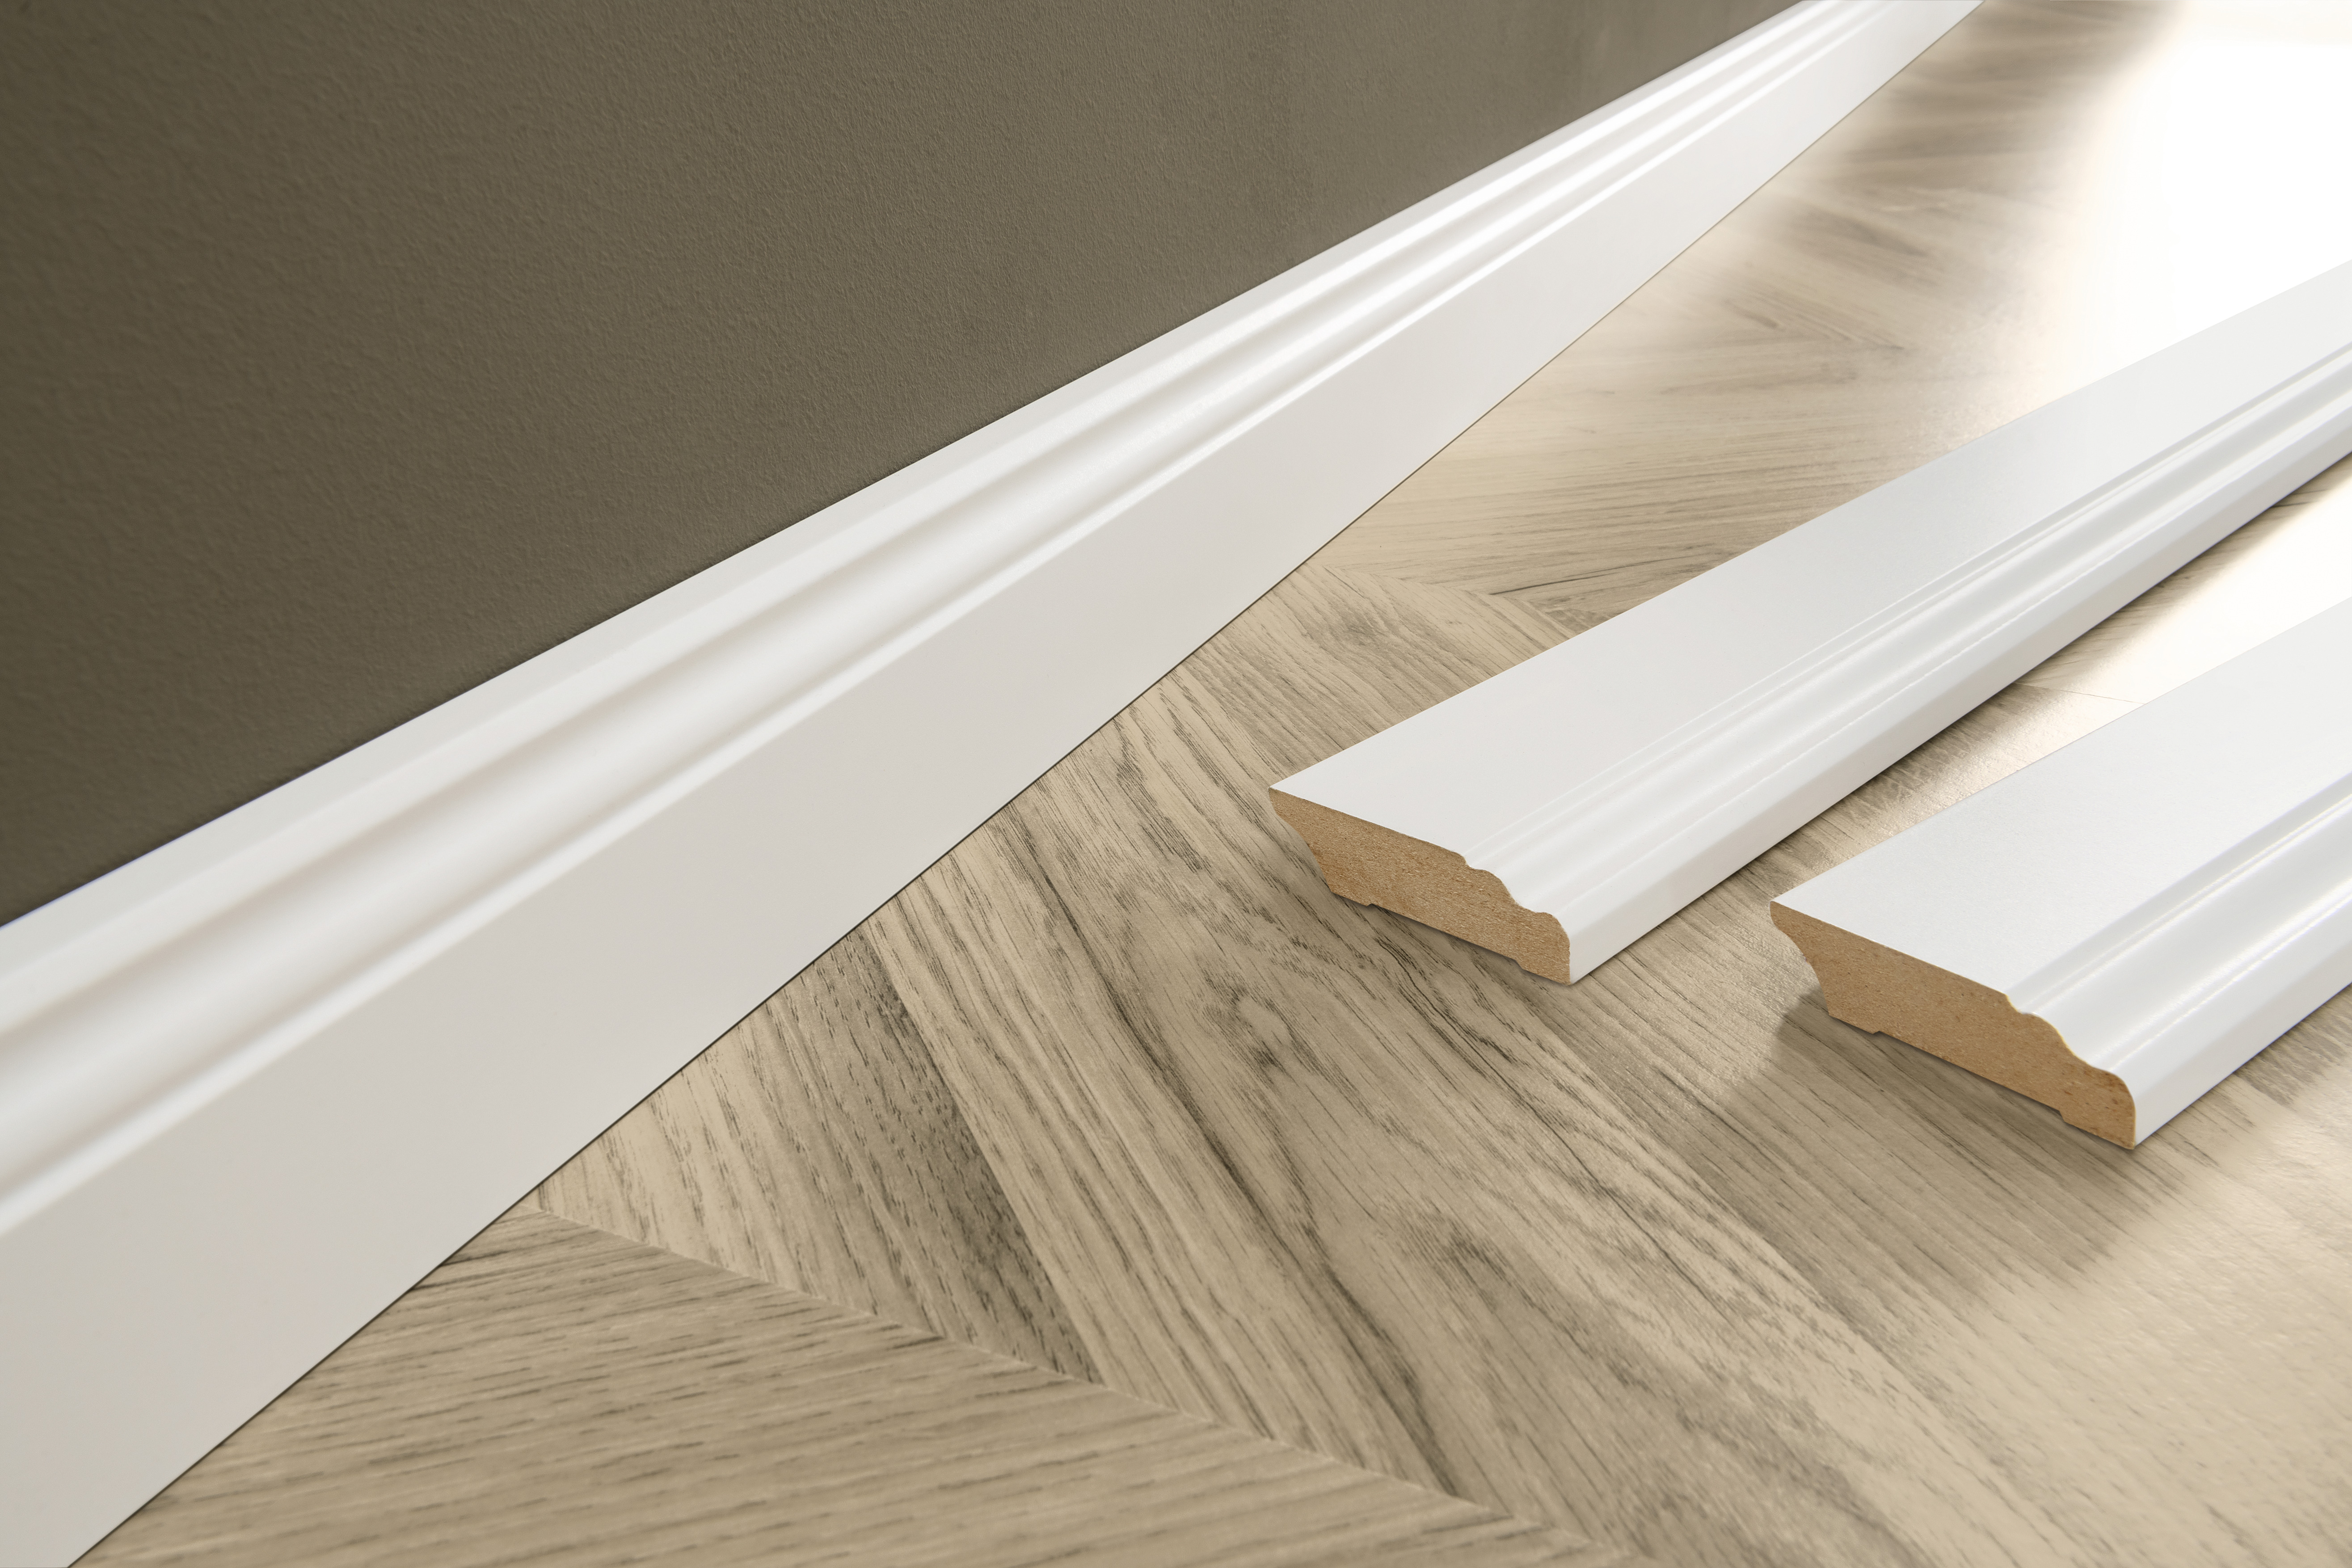
- To finish the flooring installation you need appropriate skirting boards
- We offer matching skirting boards in 6 cm height for all EGGER flooring decors
- In corners either you cut the skirtings to fit or you can use suitable corner elements

