If you’re looking for a stylish, durable, and easy to maintain flooring option, laminate is a fantastic choice. Unlike many other types of flooring, it is also DIY-friendly, so you should be able to install it yourself with preparation and the right tools.
Of course, like any home improvement job, laying laminate requires ample planning, research, and attention to detail. Failing to prepare can lead to irritating issues like creaking and squeaking , as well as more serious problems. To help you with the laminate installation process, we’ve provided an easy-to-follow step-by-step guide on laying EGGER flooring. Read on to find out how to fit laminate flooring and discover our expert advice to ensure the best results.
Article by: Jonny Lynch , Product Manager (Building Products), EGGER UK
How to lay laminate flooring: Step-by-step instructions

Here, we’ll cover how to fit laminate flooring from EGGER’s collection. From our CLIC it! flooring to our UniZip joint boards, you can feel confident installing our laminate flooring with these detailed step-by-step instructions.
Before laminate flooring installation
Failing to prepare is one of the most common mistakes when laying laminate flooring . This can lead to both short- and long-term problems with your floor, so it’s important to spend time making sure everything is in place for you to begin.
Step 1: Gather your tools
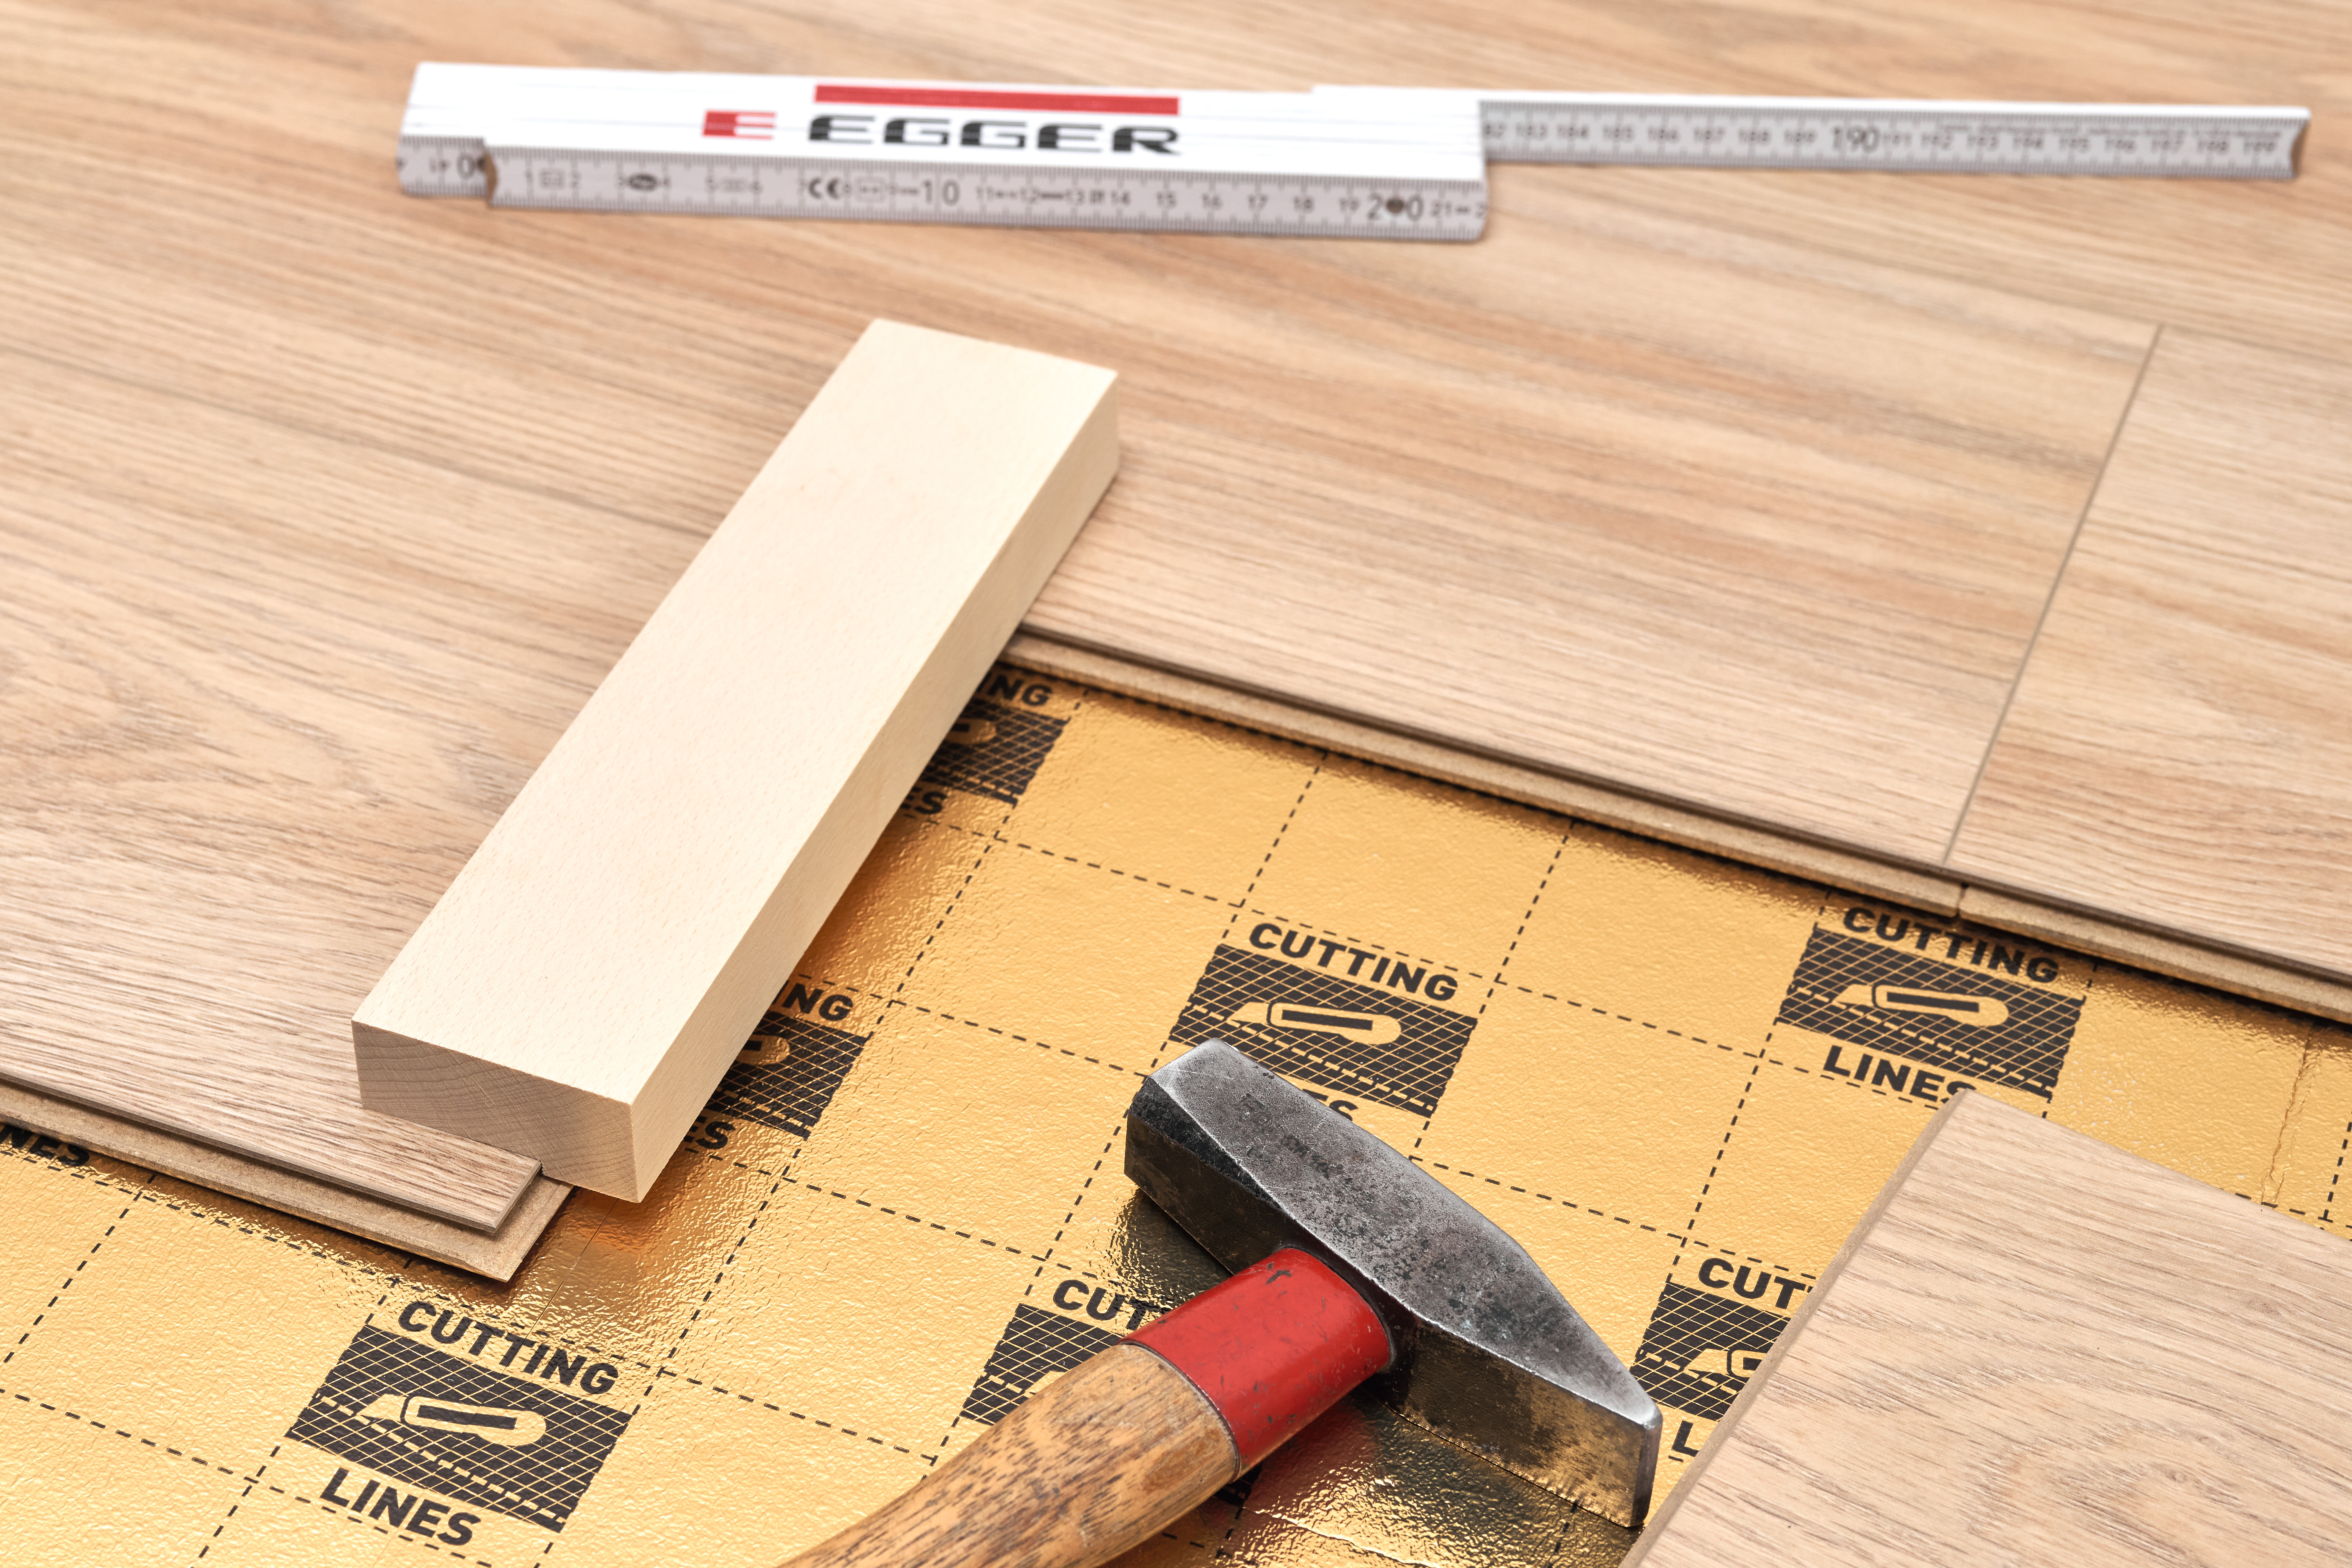
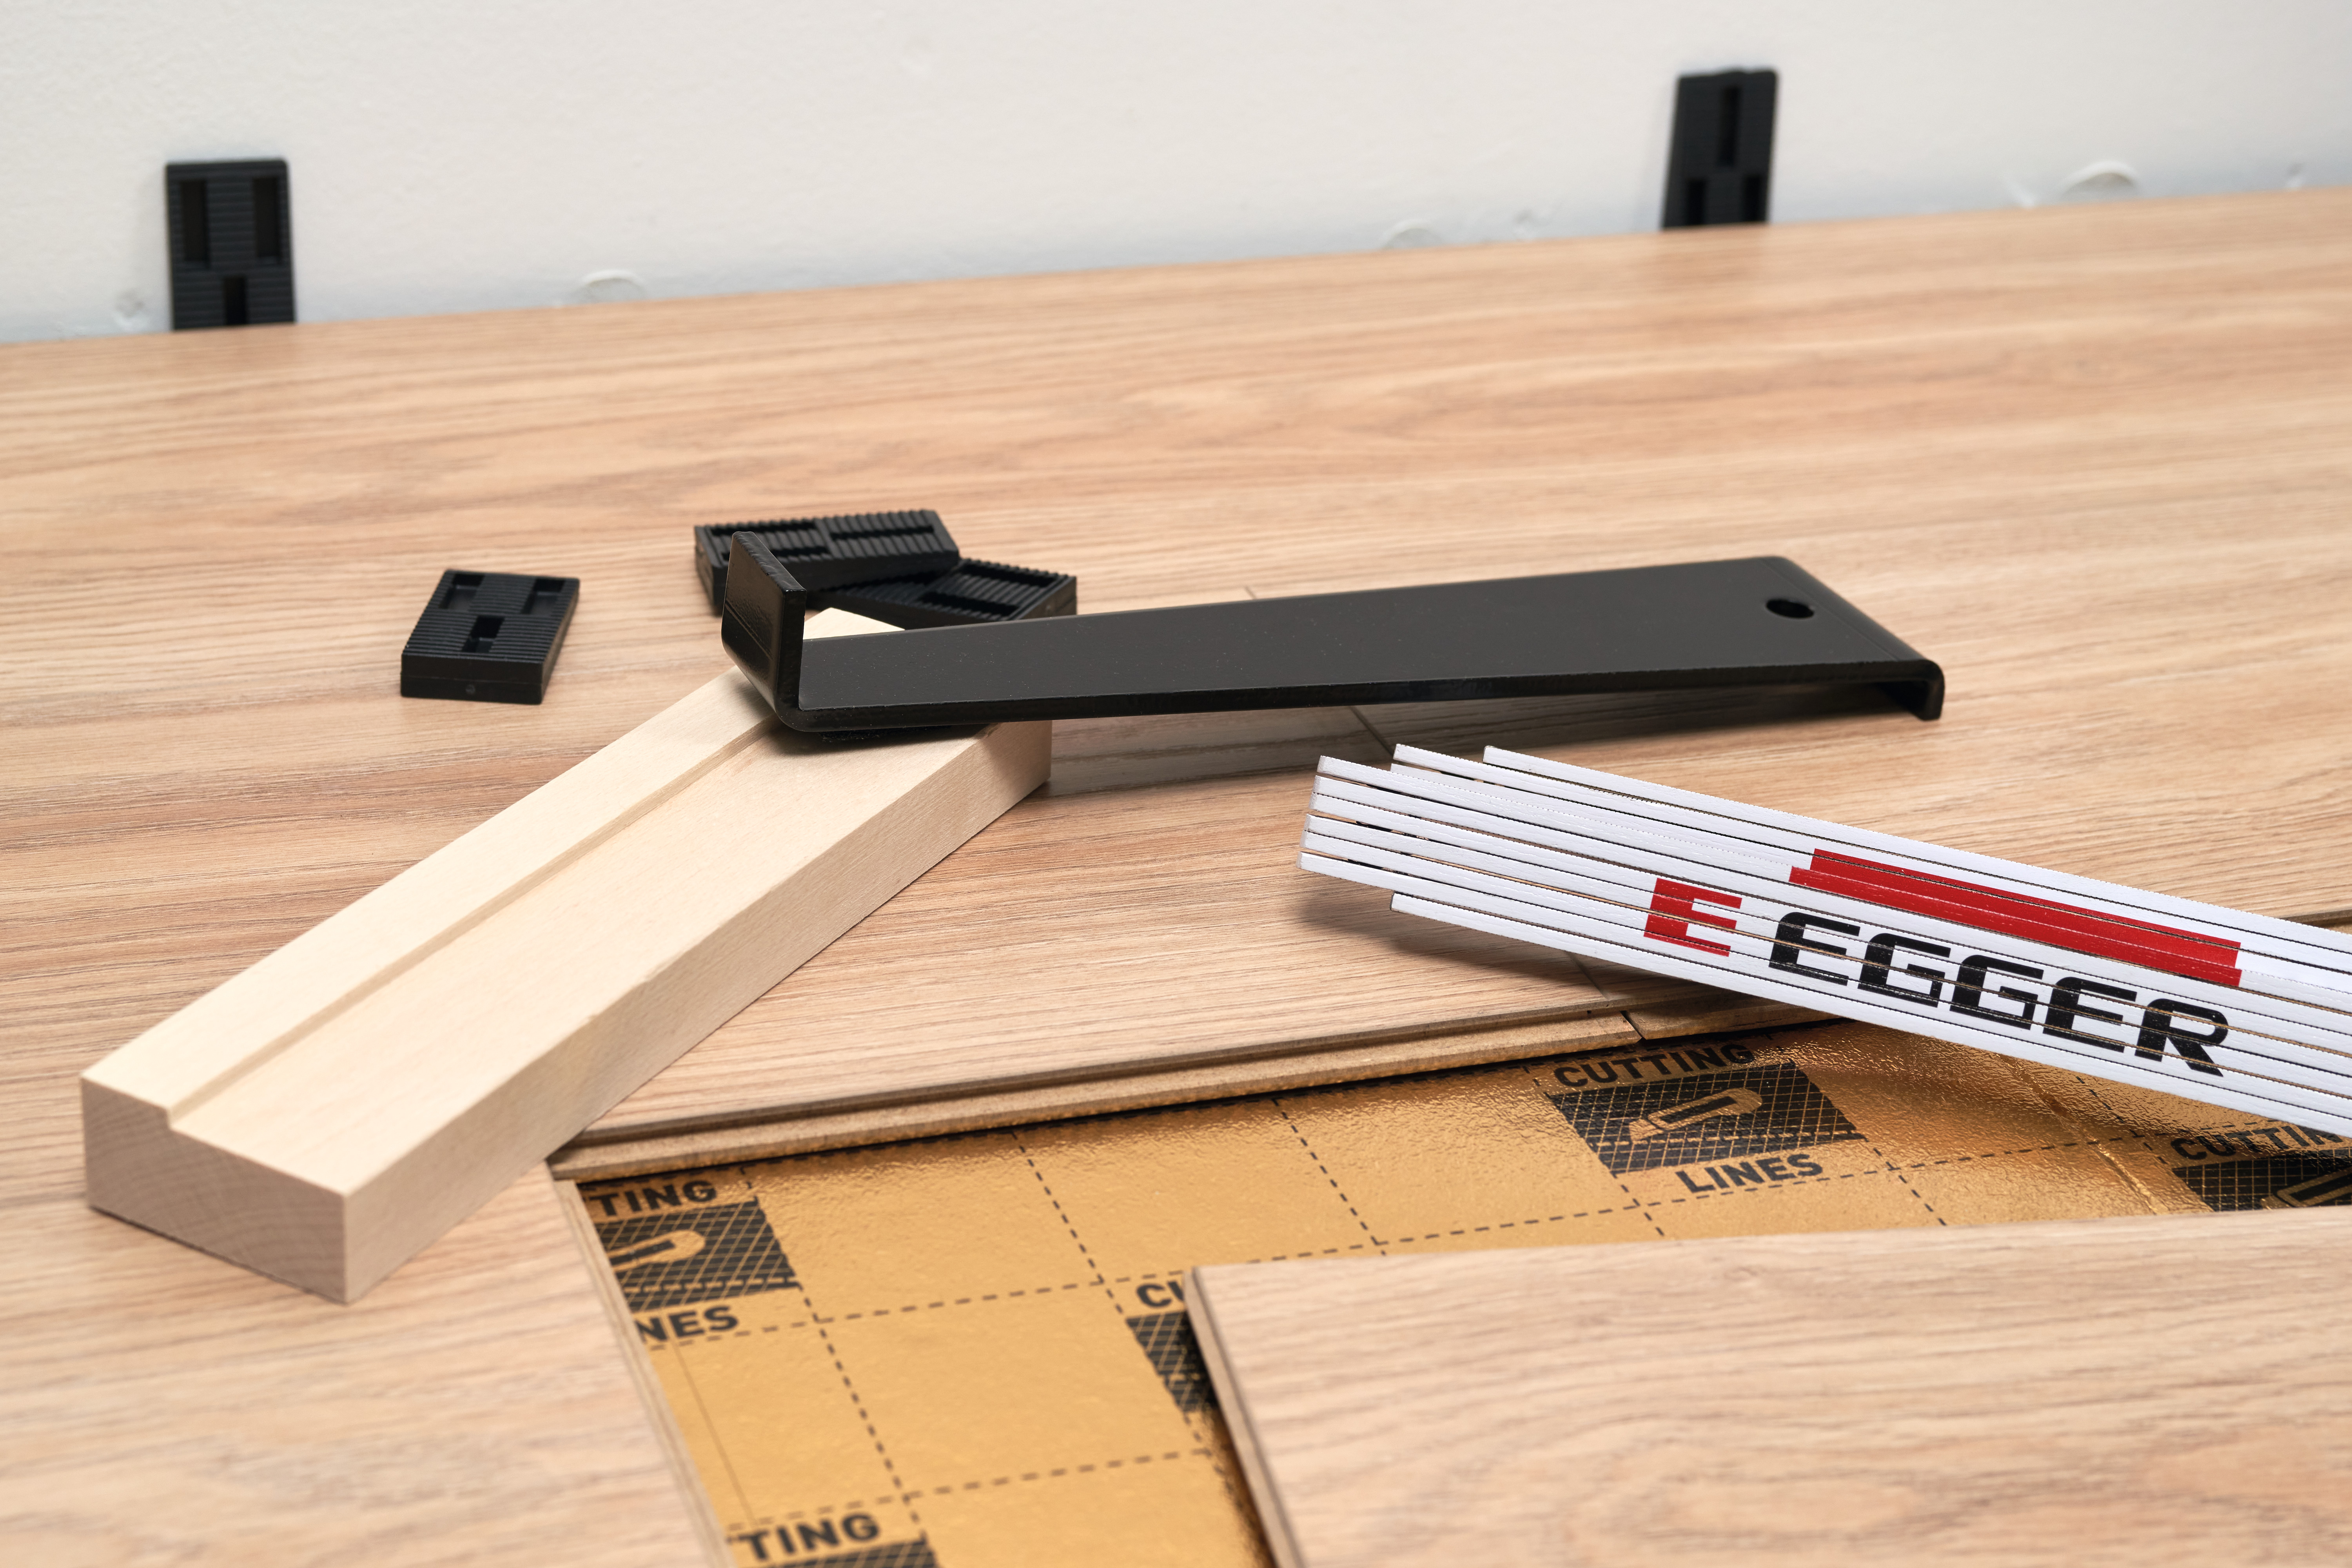
To lay EGGER flooring, you will need the following tools:
- Saw (circular saw, jigsaw, or hand saw). Choose a saw with the finest possible teeth and ensure it is suitable for wood processing
- Laminate cutter and cutter knife
- Tapping block
- Rubber mallet (for precise tapping)
- Pencil and measuring tape
- Spacer
- Protective equipment: Safety gloves, safety goggles, and a dust mask
- Moisture meter (for checking subfloors)
- Adhesive glue (only for UniZip installation)
Step 2: Prepare your subfloor
It is crucial to prepare your subfloor before installing your laminate flooring, not just to ensure the laminate looks its best but to make your flooring durable and prevent issues like buckling.
To prepare your subfloor, make sure it is the following:
- Clean: The subfloor must be free of dirt, dust, debris, and adhesive residue to ensure a hygienic and level surface.
- Load-bearing: The subfloor must be a sealed, self-supporting layer.
- Even: Your subfloor must be even to ensure stability. The floor should not have a gap bigger than 2mm over every 100cm. If there are large deviations, you can solve these with self-levelling compounds. Find out more with our guide on how to level a floor .
- Dry: The residual moisture must meet the standards set out in your flooring instruction manual . You can use a pinless moisture meter to check the moisture levels of your subfloor.
- The right atmosphere: Maintaining the right atmosphere is crucial for the lifespan of your boards. There should be a minimum air temperature of 18°C, a minimum floor surface temperature of 15°C, and an air humidity level between 40% and 70%.
Not every kind of subfloor is suitable for laminate flooring. The suitable ones include:
- Cement
- Screed
- Wooden subfloors
- Fibreboard
- PVC
- Linoleum
- Old ceramic tile floors
- Natural stone flooring
Bear in mind that on mineral subfloors, such as cement or screed, you should always install a moisture barrier, such as one of our underlays with vapour barriers.
If you aren’t sure whether your subfloor is suitable for laying our laminate flooring, get in touch and we can assist you further.
Step 3: Prepare your boards
To avoid problems after installation, the laminate boards must acclimate properly to the room where they are going to be installed. To do this, lay the packages flat in the room and leave them for at least 48 hours. Make sure to place them a minimum of 50cm from all walls, and ensure the following conditions:
- The room temperature must be at least 18°C
- The floor surface temperature must be at least 15°C
- The humidity must be between 40% and 70%
Laying the laminate flooring
Once you’ve prepared your subfloor and boards and you’ve gathered all your tools, you can get to work and start laying laminate flooring. Here, we’ll cover how to fit our two most common types of locking systems: CLIC it! and UniZip.
CLIC it! laminate installation
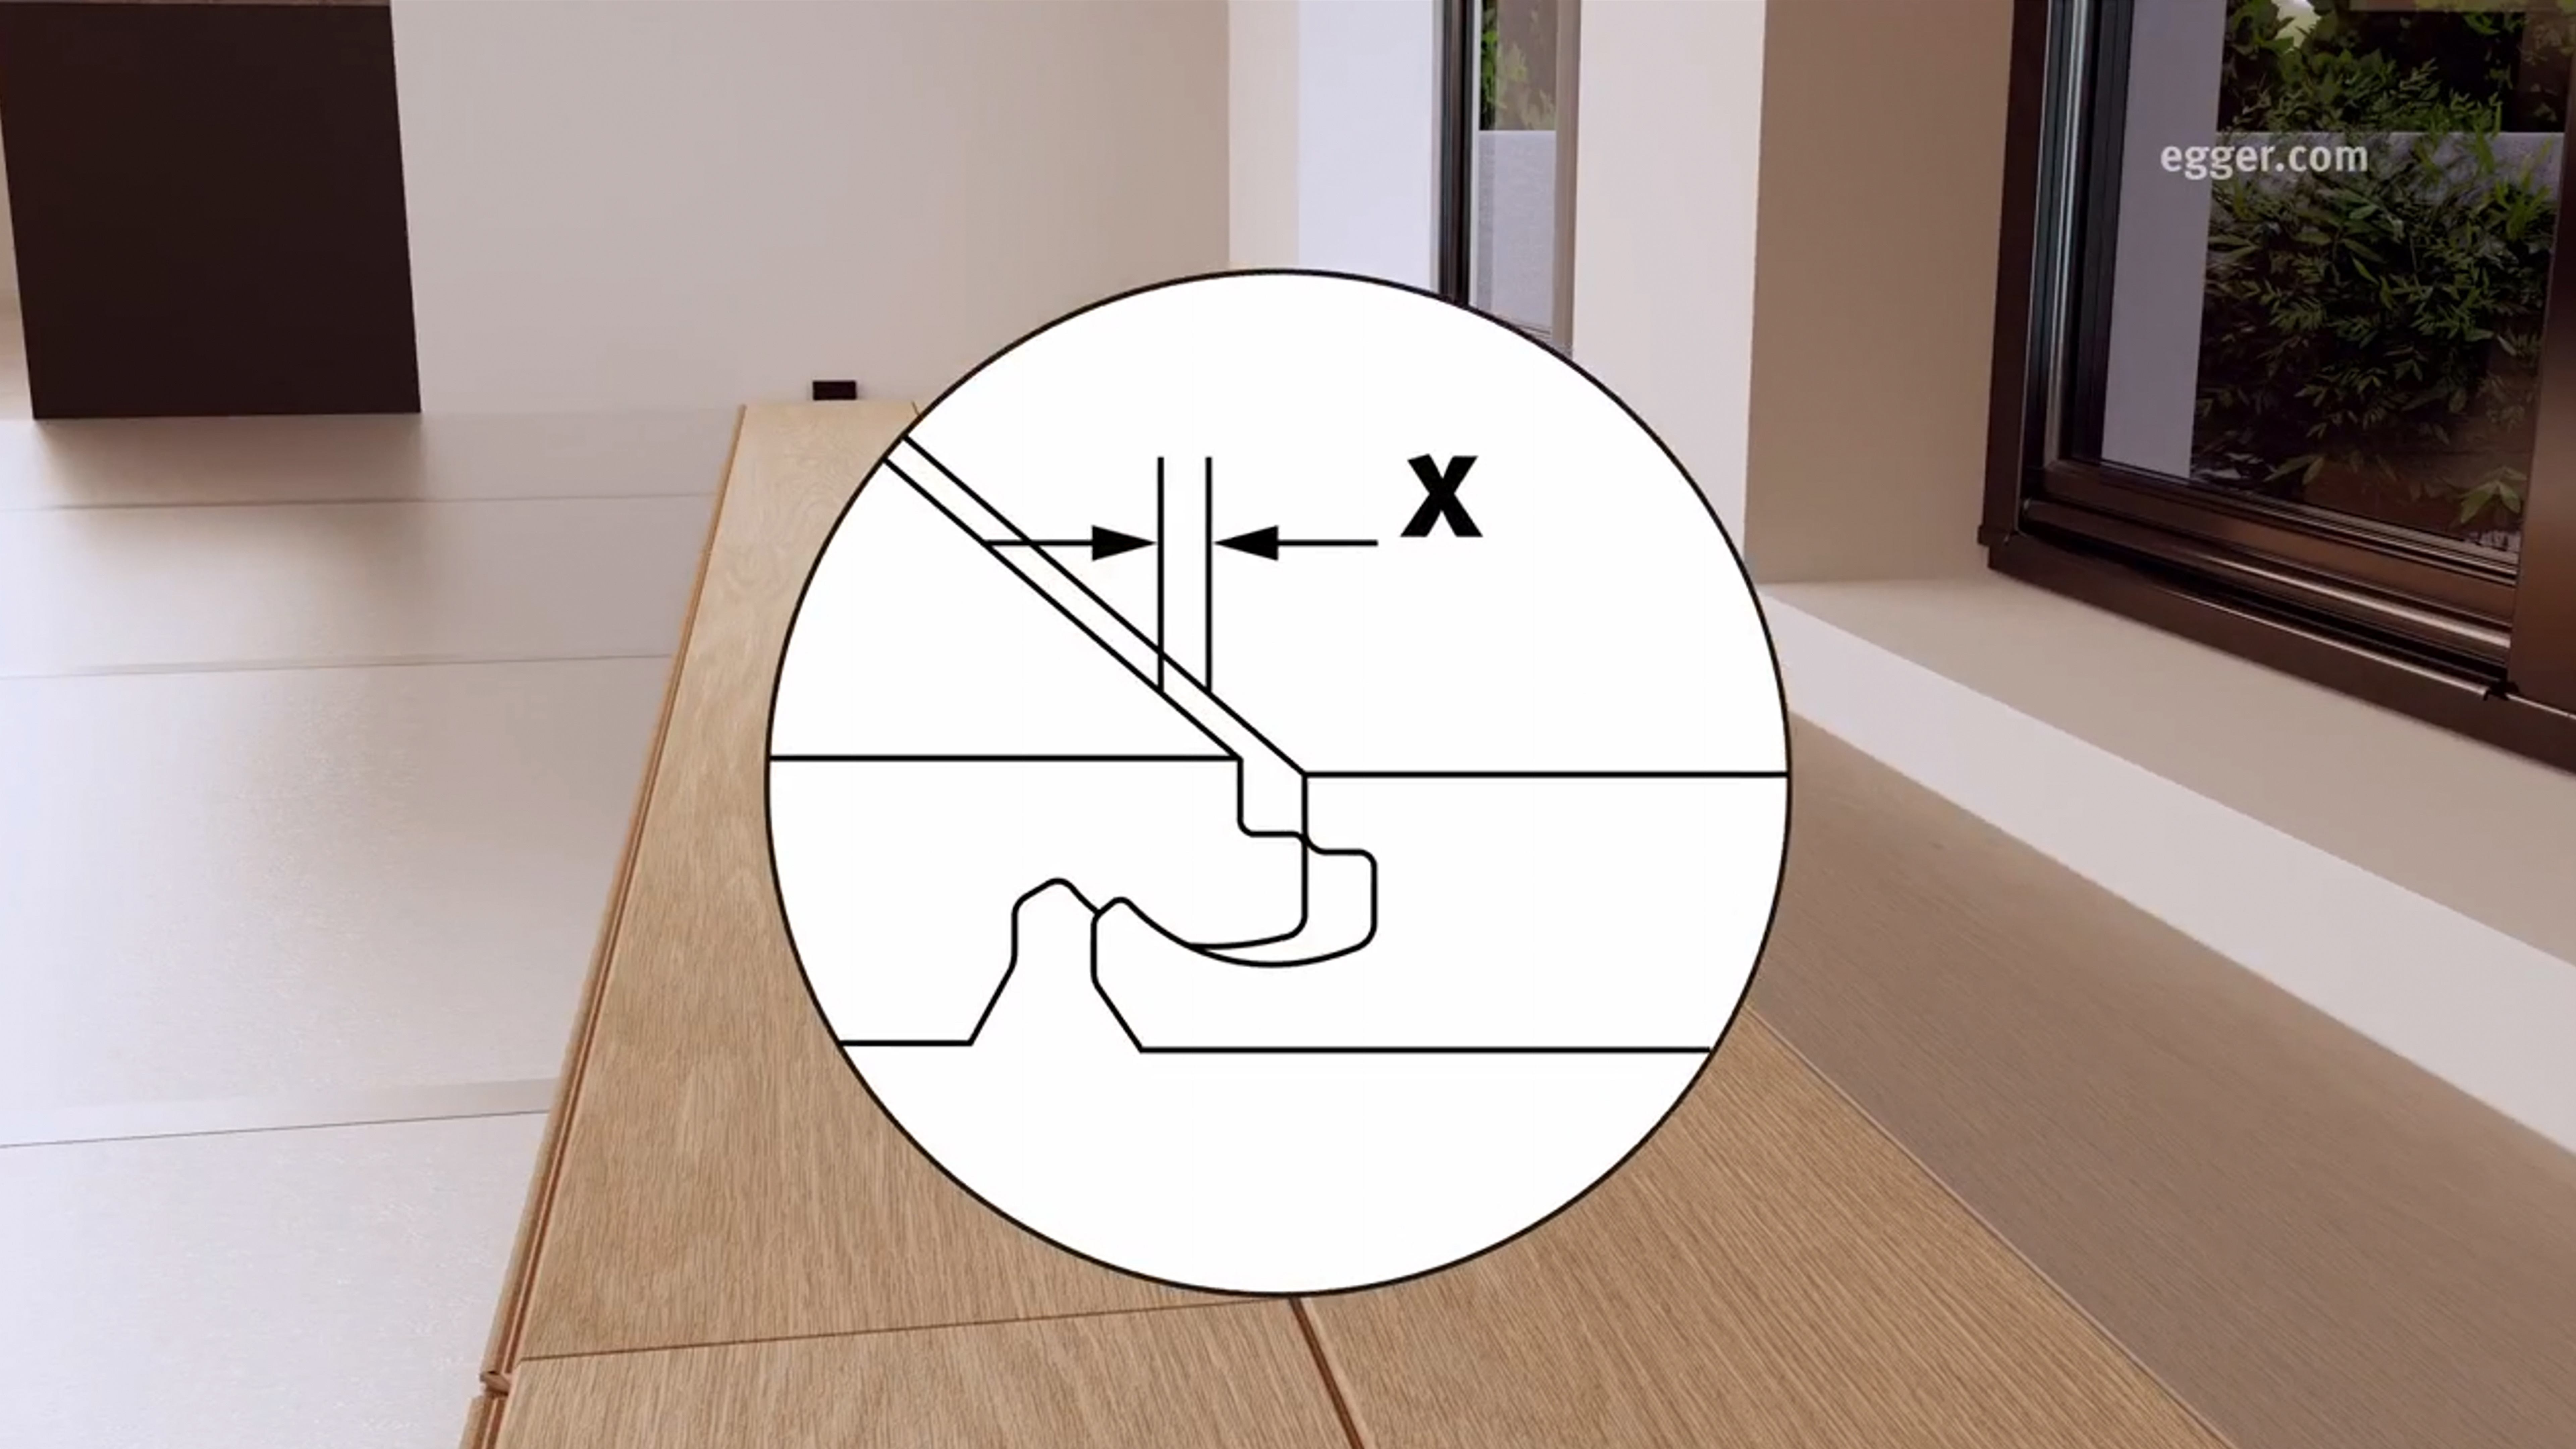
EGGER have made fitting laminate flooring as straightforward as possible with our innovative CLIC it! system.. The floorboards simply “click” together without glue, nails, or screws, which enables a floating installation that doesn’t need fixing to the subfloor. There are three ways to install CLIC it! laminate flooring, which we’ll cover below.
CLIC it! method A: Plank by plank installation for open spaces
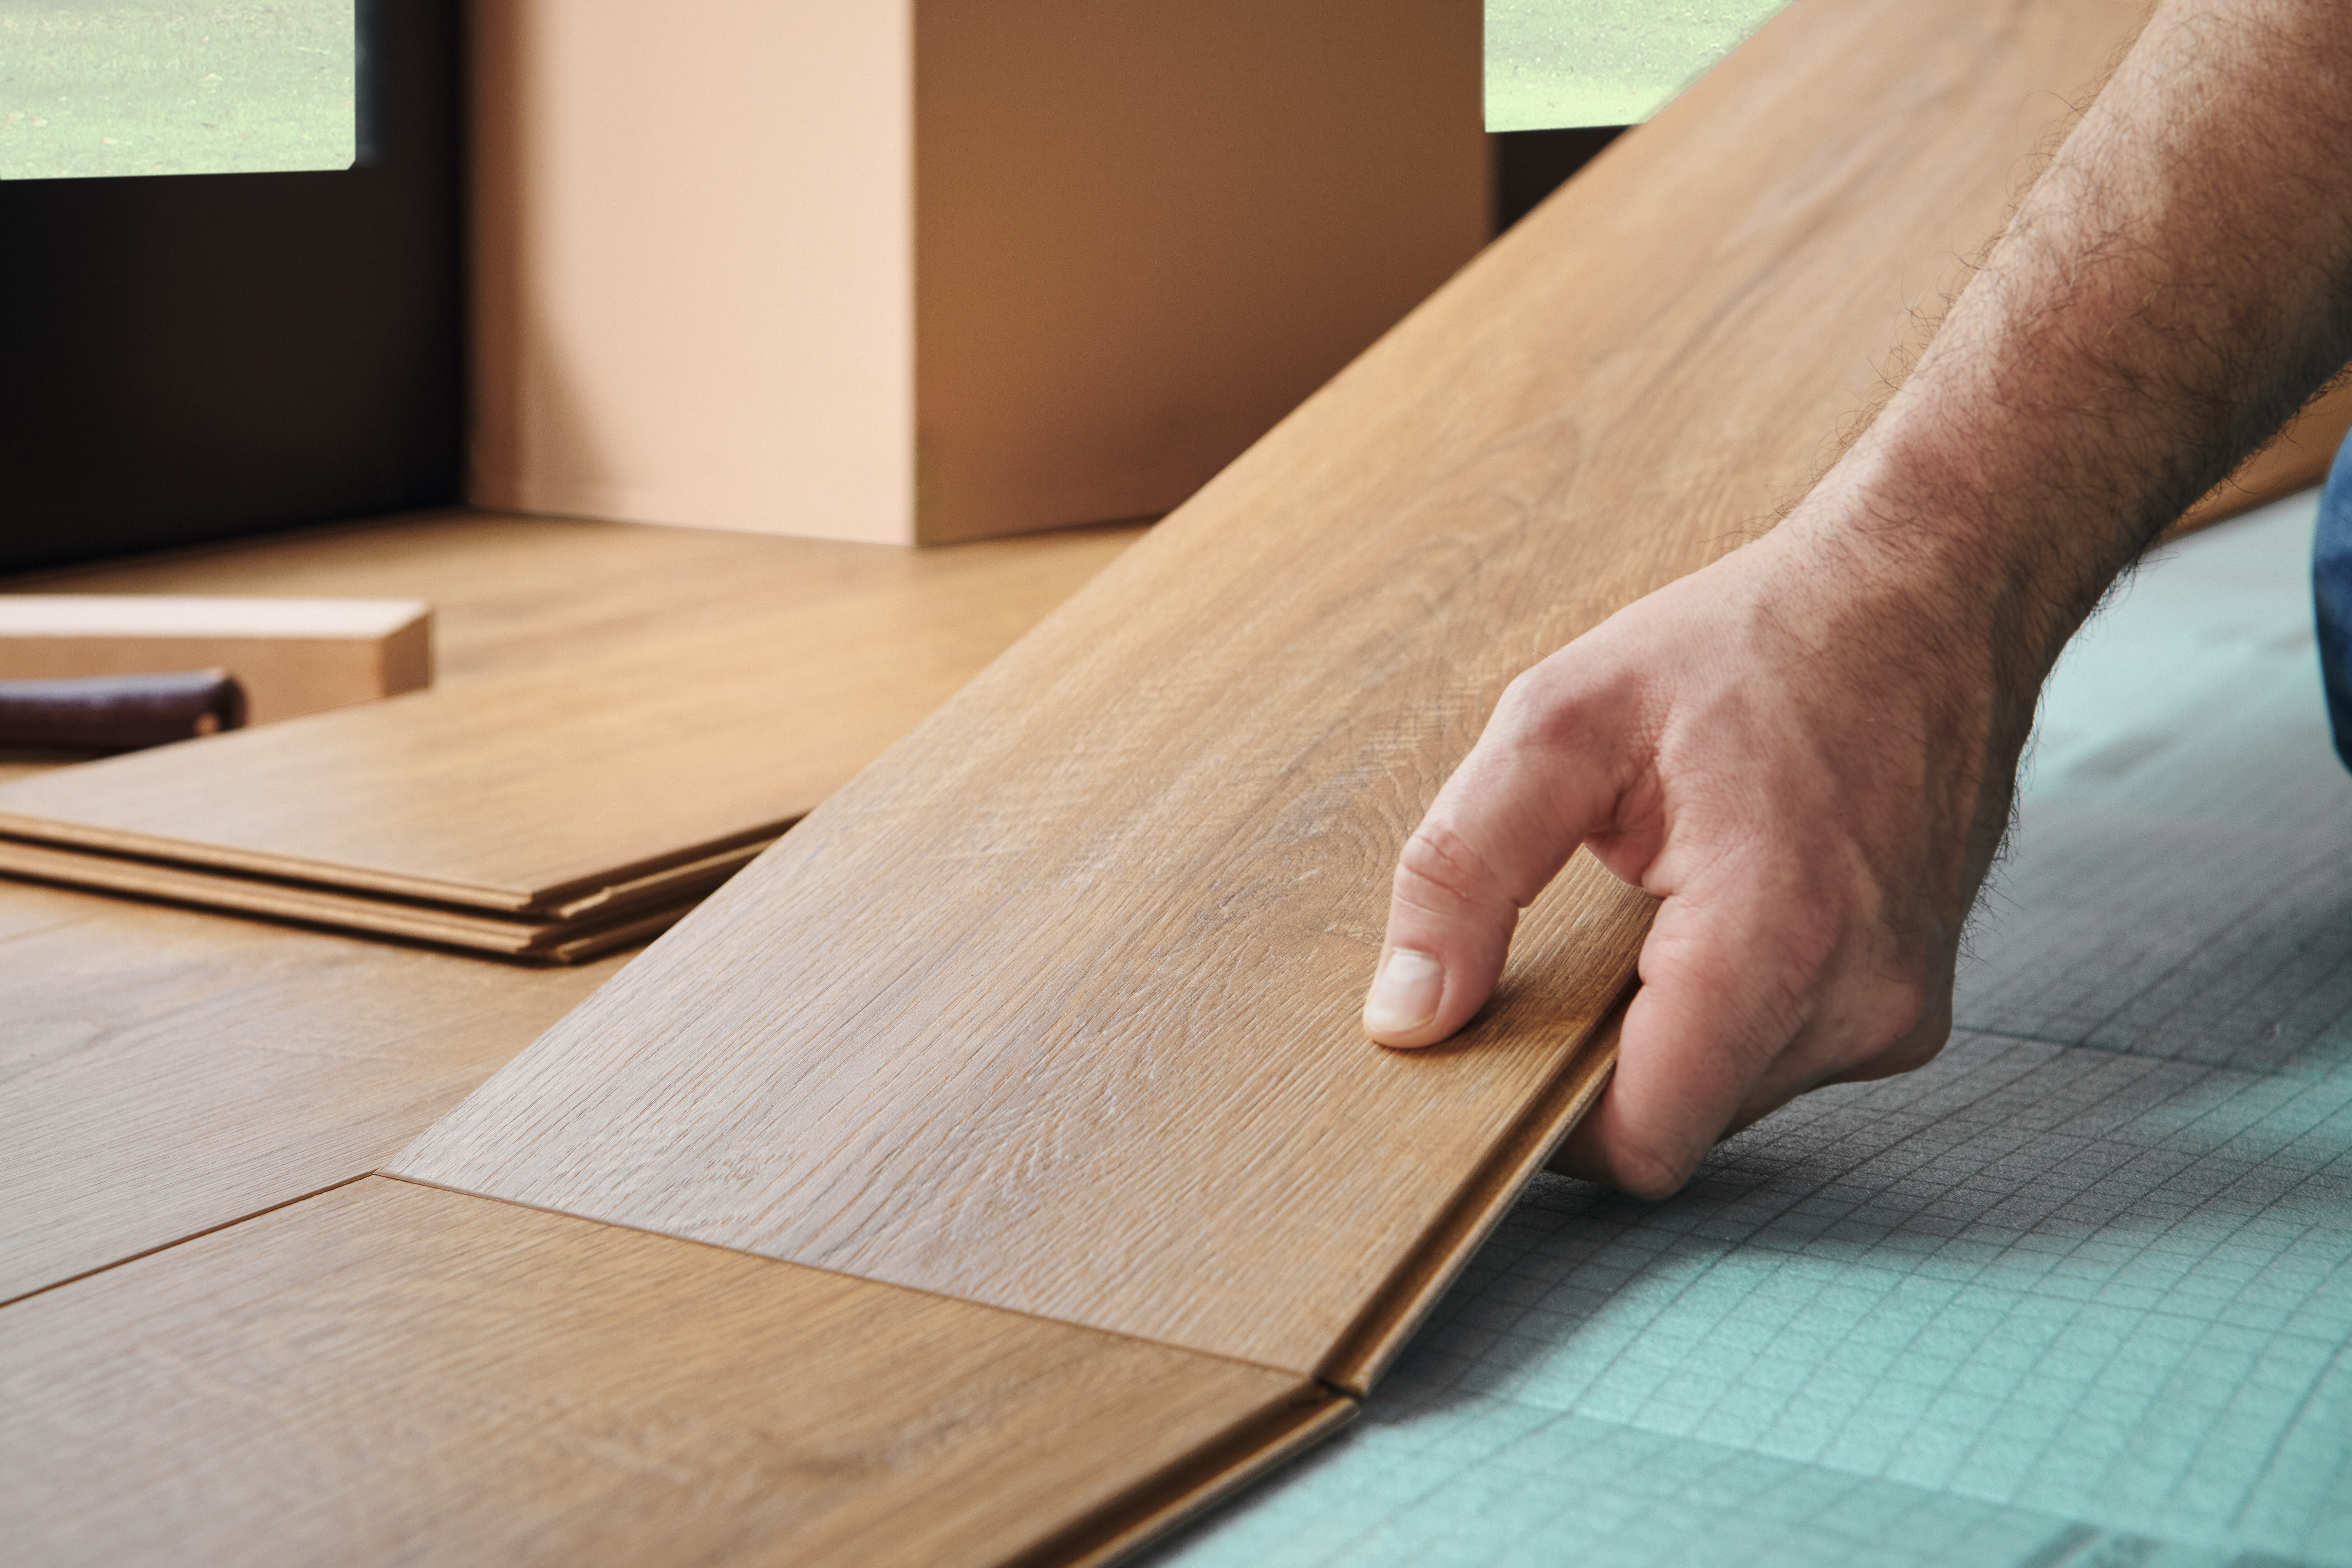
The first method involves angling a board in, connecting its short and long sides to the already-installed planks, and then lowering it down flat. This method is ideal for open spaces and general installation.
- Place the first board in the left-hand corner of the room, with both tongue sides facing the walls.
- When placing the next board down, angle the short tongue of this board down into the short groove of the board already in place and press gently to lock.
- When you reach the end of the row, measure and cut the last board to fit the space and install it in the same way.
- Make sure the boards in the first row are straight and aligned along the long edge. To help with this, use a piece of flooring as a spacer between the wall and the first row.
- Start the second row by angling the first board into the groove of the row you just installed. Press down with slight pressure to lock it in and tap it with a tapping block to make sure it’s completely locked.
- After installing two rows, remove these spacers, adjust the rows so they are straight against the wall, and reinsert spacers to maintain the expansion gap.
- To install the following rows:
- Angle the short tongue end into the short groove of the board already installed in the same row, and press it as close as possible to the long edge.
- Slightly lift the board you’re installing along the long side.
- While lifted, click the long side tongue into the groove of the previous row and lower the board to lock it in place.
- Note: When you lift a board to lock the long side, the board you just connected at the short end might lift a little too. This is completely normal — just make sure that everything clicks together properly before moving on.
- Make sure that all joints are completely closed. You can close isolated, smaller joints by gently using the tapping block.
- Install all the remaining boards. Adjust the length of the first or last board of any row if necessary.
CLIC it! method B: Installation in confined spaces
Method B involves angling on the long side of the board and tapping on the short side. This method can be useful in confined spaces where angling is difficult. To start, we’ll take you through the installation instructions board by board:
Board 1. Lay it in the left-hand corner of the room with both tongue sides facing the walls.
Board 2: Place the long side tongue of board 2 (which has been cut to length) at a slight angle from above into the long side groove of board 1 and lower down carefully.
Board 3: Angle the long side into board 1, just like before. While the board is still angled, slide board 3 as close as possible towards board 2 so its short tongue rests on board 2’s short groove. Then, lower board 3 to lock the long side and lightly tap the short side with a tapping block or hammer. Be gentle and avoid directly hitting the board surface.
Board 4: Angle the long groove under the tongue of board 3. Then, slide board 4 toward board 1 so the short tongue lines up with the groove, and lower to lock the long side.
Boards 5, 6, 7, and 8: Repeat the same process as the boards above. Boards 5 and 7 follow the same steps as board 3, while boards 6 and 8 follow the same steps as board 4.
After board 8, continue installing the first two rows of laminate flooring by adjusting the first and last board lengths as needed for the room size. Once the first two rows are complete, check the alignment along the wall to ensure precision. You should also place spacers between the flooring and the wall to maintain the expansion gap.
Begin the third row by angling the first board diagonally into the groove of the row below it, then lower it down with light pressure.
After locking the board along the long side, secure the connection gently with a tapping block. Then, follow the steps below for each new board:
- Angle the long tongue of the board into the groove of the row below and slide it so its short tongue meets the short groove of the board to its left.
- Lower the board to lock the long side.
- Gently use a tapping block to fully close the joint.
- Repeat this process for the rest of the row.
CLIC it! method C: Installing row by row in tricky areas
Method C involves installing laminate flooring row by row, angling on both the long and short sides. This option is best for working backwards into tricky areas, such as alcoves and narrow corridors.
Place the first board in the left-hand corner of the room.
- To install the first row, angle the short tongue side of the second board into the short groove of the first board and press down gently to lock it in place. Cut and fit the last board of the row as needed and install it the same way.
- Once the first row of laminate flooring has been installed, check the alignment to make sure the boards are straight along the long sides. You can use a piece of flooring as a temporary spacer.
- Continue to the second row and install the first board of the new row by placing the long tongue of the board loosely over the groove of the previous row, but don’t lock it in yet.
- Connect the next boards in the row by angling the short tongue side into the short groove of the previous board. Keep the long side of the tongue resting over the groove while doing this.
- Go back to the starting board of the row and slightly lift it along the long side, then press down to click the long tongue into the groove. Continue this process from left to right until the full row is connected and flat.
- Check the boards are aligned and gently tap with a tapping block to tighten the joints.
- Repeat for each row, cutting the first or last boards of any row to fit if needed.
UniZip laminate installation
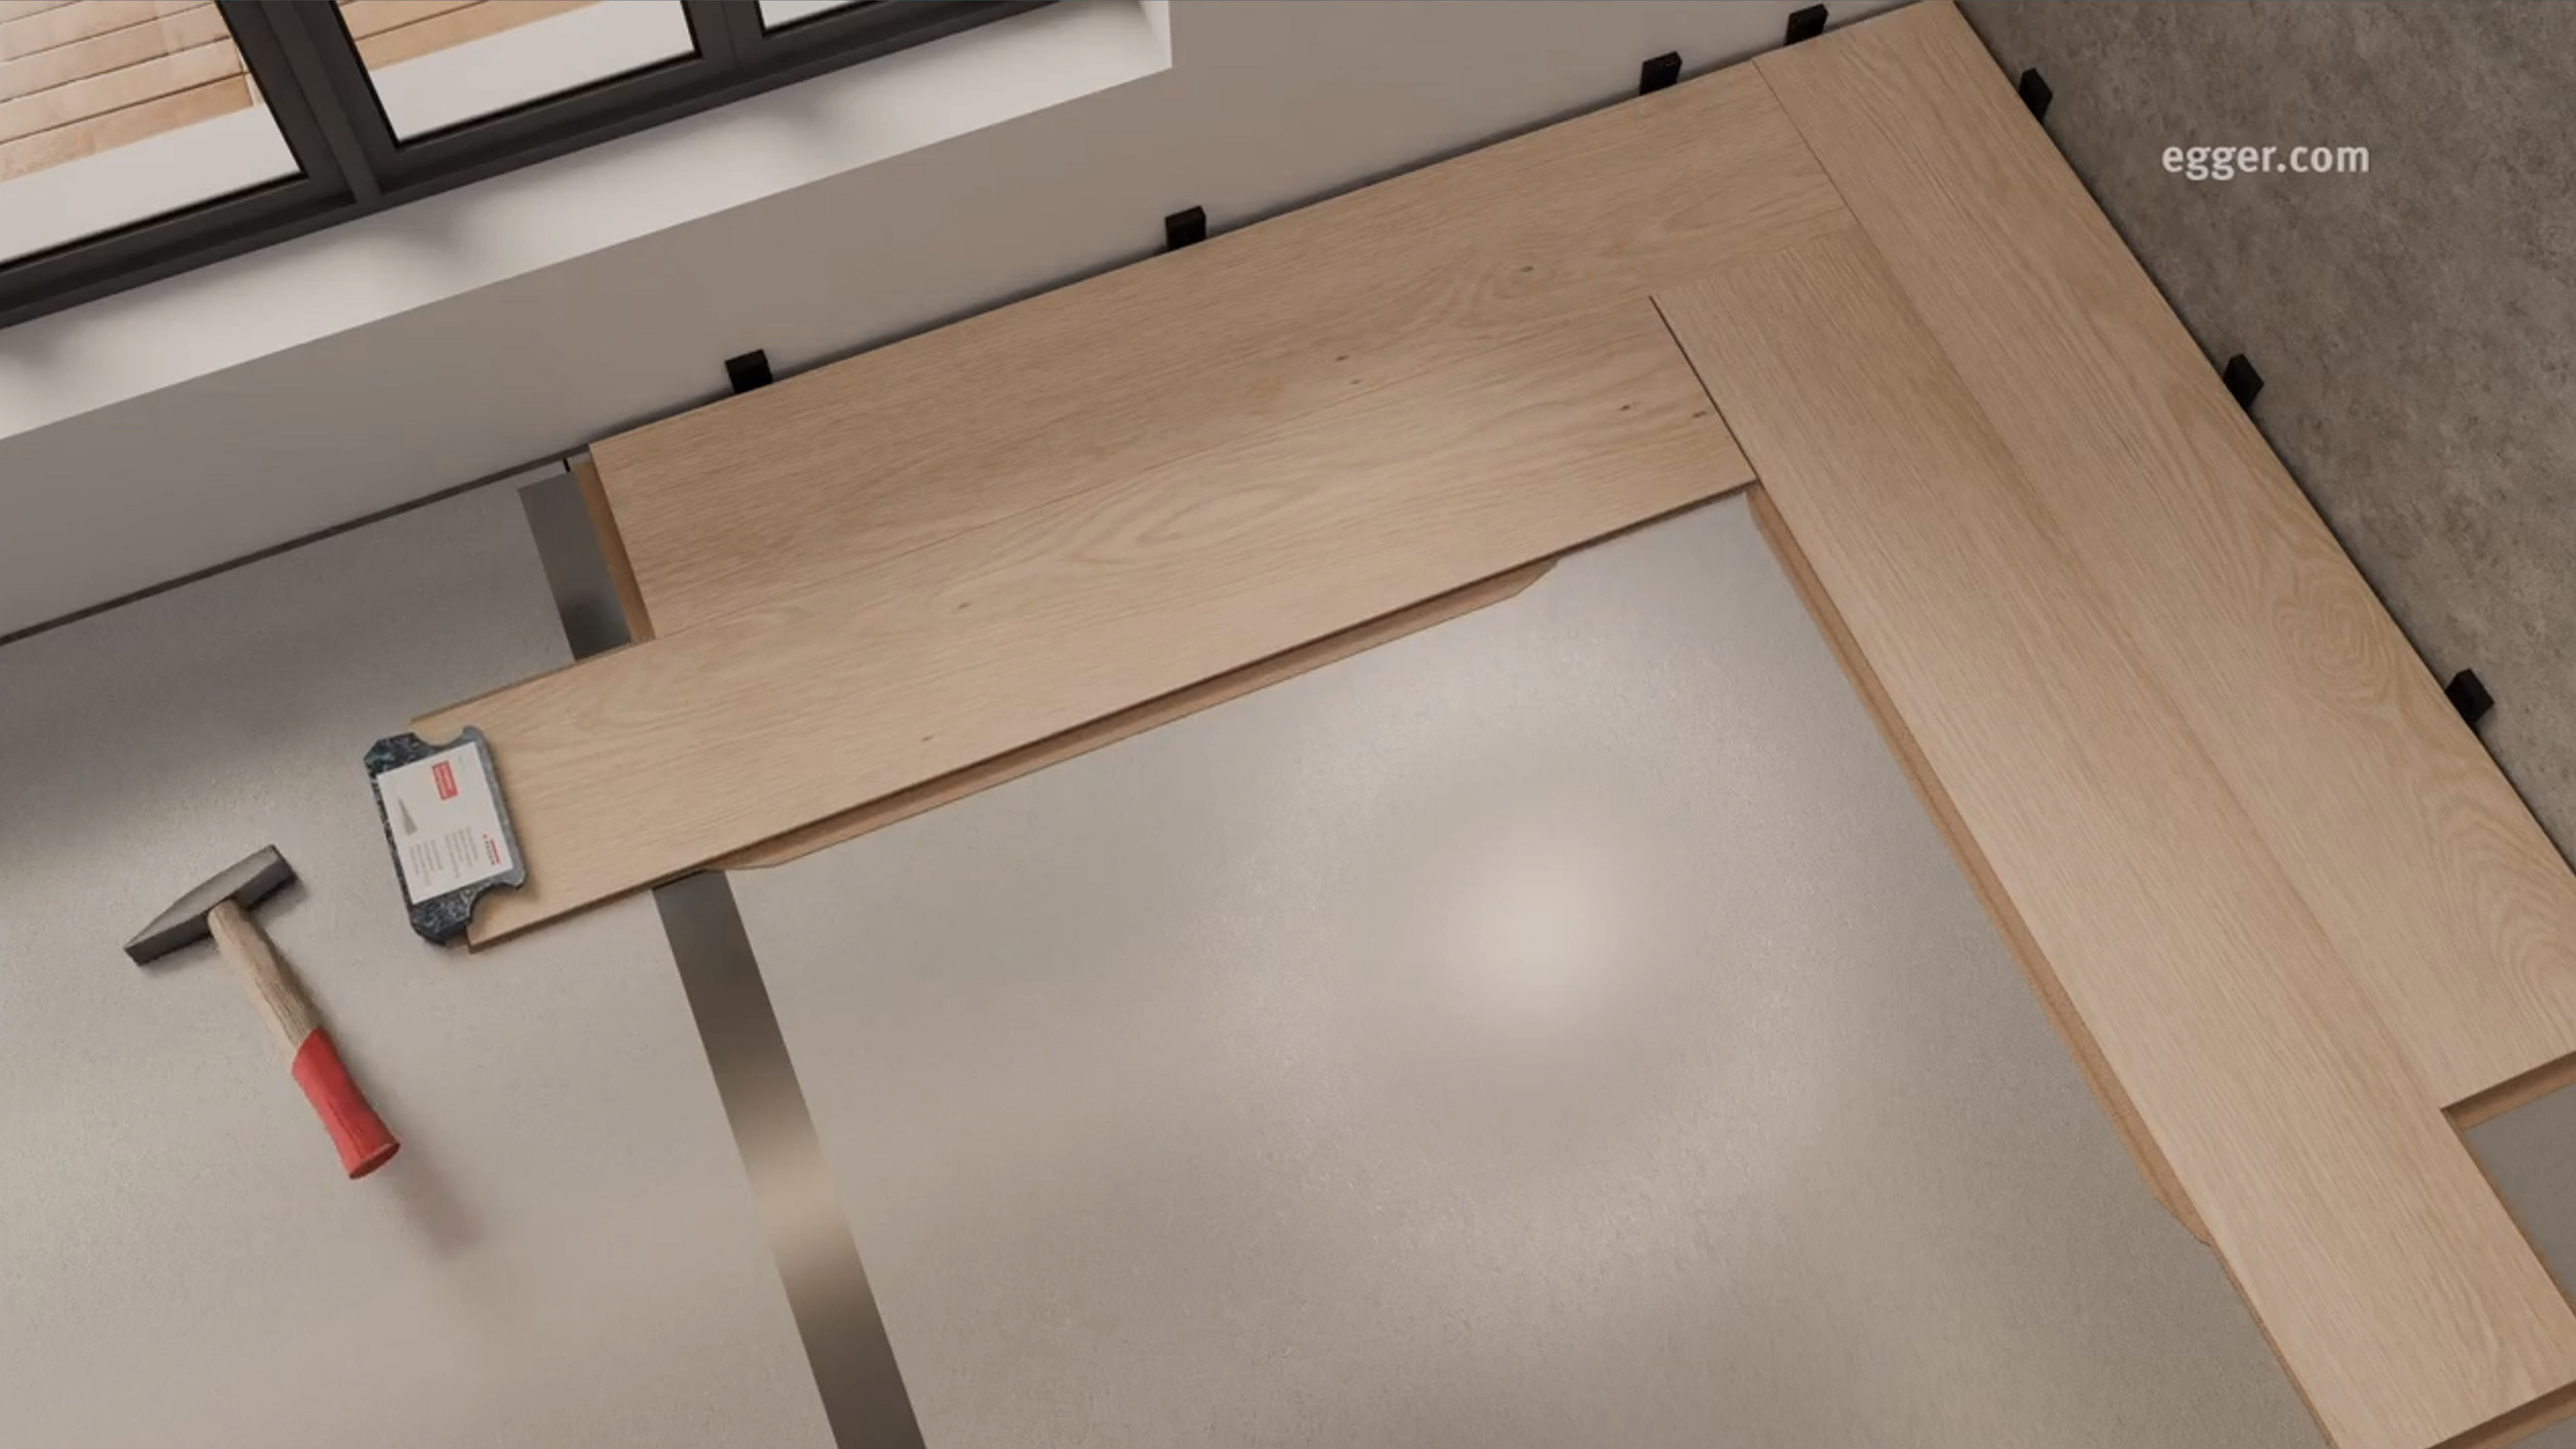
Wondering how to lay herringbone laminate flooring? EGGER have made it easier with our UniZip locking system. Instead of traditional A and B herringbone boards, our UniZip installation system comes with only one flooring board type to make laying herringbone laminate straightforward, even if you aren’t a pro. There are two ways to fit our UniZip flooring, which we’ll explain below.
UniZip method A: diagonal installation
Method A involves installing the laminate diagonally in the room.
- Start in any corner of the room and alternate boards from packs A, B, and C as you go.
- Prepare the first board by removing the click connection (on the tongue long side, groove short side).
- Make sure to leave an 8mm to 10mm gap between the board and the wall.
- Glue all click connections of the first herringbone assembly using EGGER adhesive.
- Prepare the second board by removing the tongue on the long side of the board.
- Angle the second board with the short side into the long side of the first board.
- Angle the third board with the long side into the first board, then tap the short side into the second board using a tapping block.
- Continue installing the first herringbone row diagonally across the room until you reach the opposite corner. Once finished, use wedges to hold this row in place.
- Continue laying the laminate flooring to the left and right of the first herringbone row, and continue until the pattern is finished.
- At the wall edges, cut the boards to size, leaving an 8mm to 10mm expansion gap along all sides.
UniZip method B: Installing from the centre
This parallel laminate installation method involves starting from the centre of the room and expanding outward in both directions.
- Mark a centerline in the room with chalk. To achieve a symmetrical look, move your starting point 6cm right of this line and mark this point.
- Ensure that you keep a distance of 8mm to 10mm between the boards and the walls.
- Place board 1 flat at your marked starting point and angle the short side of board 2 into the long side of board 1.
- Angle board 3 with the long side into board 1, then tap the short side into board 2 using a tapping block.
- Continue installing the first row of herringbone toward the opposite wall, and secure it with wedges to prevent shifting.
- Expand the pattern to the right and left of the first herringbone group and keep going until you reach the walls.
- Cut the last boards to fit, leaving an 8mm to 10mm expansion gap around all edges.
Laying laminate flooring around fixed objects
When installing laminate flooring around fixed objects, such as kitchen islands or counters, simply cut the board to fit around obstacles. A jigsaw tends to be best for precision.
Fitting the laminate flooring around pipes is a little fiddlier but still very simple. To do this, measure where the pipes will go on the board (with space for the expansion gap) and mark the spot. Drill a hole in this spot that is at least 16mm larger than the pipe diameter, and cut the hole at a 45° angle. Then fit the board around the pipe, slide the cut piece into position behind the pipe, and glue it into place.
To fit laminate flooring around door frames, trim the bottom of the frame to allow the laminate to slide underneath. You can use a saw and a scrap piece of flooring to gauge the height.
Laminate flooring FAQs
After reading our five laminate laying methods for our innovative locking systems, you should feel confident in knowing how to lay laminate floor. Just in case you have queries we haven’t yet covered, we’ve put together this quickfire answer to FAQs on fitting laminate flooring.
Can you lay laminate flooring yourself?
Yes, you can lay laminate flooring yourself. It is considered a DIY-friendly job and doesn’t require specialist tools, unlike other types of flooring. Laying laminate is especially straightforward with EGGER’s innovative lock systems, designed with easy installation in mind.
Which way should you lay laminate flooring?
The way you lay laminate flooring is generally down to personal preference. That being said, most people lay laminate flooring in the direction of the longest side of the room to avoid unnecessary board cutting. There are also no general rules on which way to lay laminate flooring in a square room, although laying the laminate boards parallel to the main window or light source can make a room appear larger.
Can you lay laminate over laminate?
You should avoid laying new laminate flooring over existing laminate, as the surface is not stable enough and it will cause expansion issues. It may even lead to long-term problems with the subfloor.
Can you lay laminate over carpet?
No, you should not lay laminate over carpet. Some people mistakenly believe that carpet can be used in place of an underlay, but carpeted floors are too soft and can give way under pressure. The softness can lead the floors to flex or bounce and damage the lock systems over time.
How long does it take to lay laminate flooring?
This depends on various factors, including the skill of the laminate layer and the size and shape of the room. A professional fitting laminate flooring in a standard room of approximately 200 sq ft can take anything from three to five hours. Most DIYers can expect to complete the job in at least double this length of time, but perhaps longer for those new to DIY.
Laying laminate flooring tips
You can’t get too much advice when it comes to laying laminate flooring. On top of our step-by-step instructions and FAQs, we’ve provided some handy tips on laminate flooring installation so you’re fully prepared before you get started.
Buy more than you need
Once you’ve worked out how much laminate flooring you need to cover your home, make sure to buy that plus a little extra. Although laying laminate flooring is a straightforward process, things can sometimes go wrong, so it’s a good idea to have some spare boards as backup. They can also be handy when it comes to replacing damaged boards in the future.
We would recommend at least a 10% surplus, but you may want to up this to 15% if you have patterned or tile-effect boards, or you simply want to be extra cautious.
Don’t neglect the underlay
Underlay is vital not just for underfoot comfort, but for the stability and longevity of your laminate, so choosing the right one is vital. We have an excellent selection to choose from at EGGER, including underlays compatible with underfloor heating. Our EGGER Silenzio Easy and the EGGER Silenzio EASY SD underlays are suitable for mineral and subfloors, while our Silenzio Duo 1.5mm underlay is suitable for mineral floors. For maximum protection, our Silenzio Professional SD 3-in-1 is one of our most resilient options available.
You should also ensure you take time and care when installing the underlay for maximum effect. Want to find out how? Read our guide on how to lay laminate underlay .
Acclimatise the flooring
Before laminate flooring installation, it’s essential to let your laminate flooring acclimate to the environment where it will be laid. This step is sometimes forgotten by DIYers, but it is important as it can help prevent expansion or contraction after laying the laminate. To acclimatise the board, all you need to do is leave the sealed packs in the room they are going to be installed in for at least 48 hours to give them time to adjust to the room’s temperature and humidity. Make sure the temperature in the room is as consistent as possible and lay the boxes flat.
Plan your layout
A little planning goes a long way, especially when it comes to DIY. Before laying the first laminate board, take time to map out your floor. Try to avoid ending up with a narrow sliver of board along one wall, not only for aesthetic reasons but also for structural stability. Ideally, you want to cut the first row of boards so both the first and last rows are of a similar width.
Always adhere to the manufacturer's instructions
While general advice can be helpful for laminate flooring installation, it’s crucial to follow the specific guidance from your manufacturer. Every type of laminate flooring has its own requirements, with different locking systems and installation methods. We’ve given you a detailed breakdown of different installation methods for EGGER flooring, so you should feel confident when installing our laminate.
After reading this guide, you should feel confident knowing how to install laminate flooring from EGGER’s collection. Ready to take the job on? Browse our full flooring range today, including our NatureSense and AquaDura flooring.
For even more information on all things laminate, head to our laminate flooring knowledge hub for advice on everything from removing laminate flooring to maintaining and cleaning laminate flooring .
Support
This article is for informational purposes only. If you are searching for the information about specific EGGER products, please visit our knowledge hub .
You might also be interested in:
- Common mistakes when laying laminate flooring (& how to fix them)
- How to clean laminate flooring?
- How to remove laminate flooring?
- How much laminate flooring do I need?
- How to lay a laminate undelay?
- Stop laminate floor from creaking and squeaking?
- How to finish laminate flooring edges?
- How to level a floor: the complete guide

