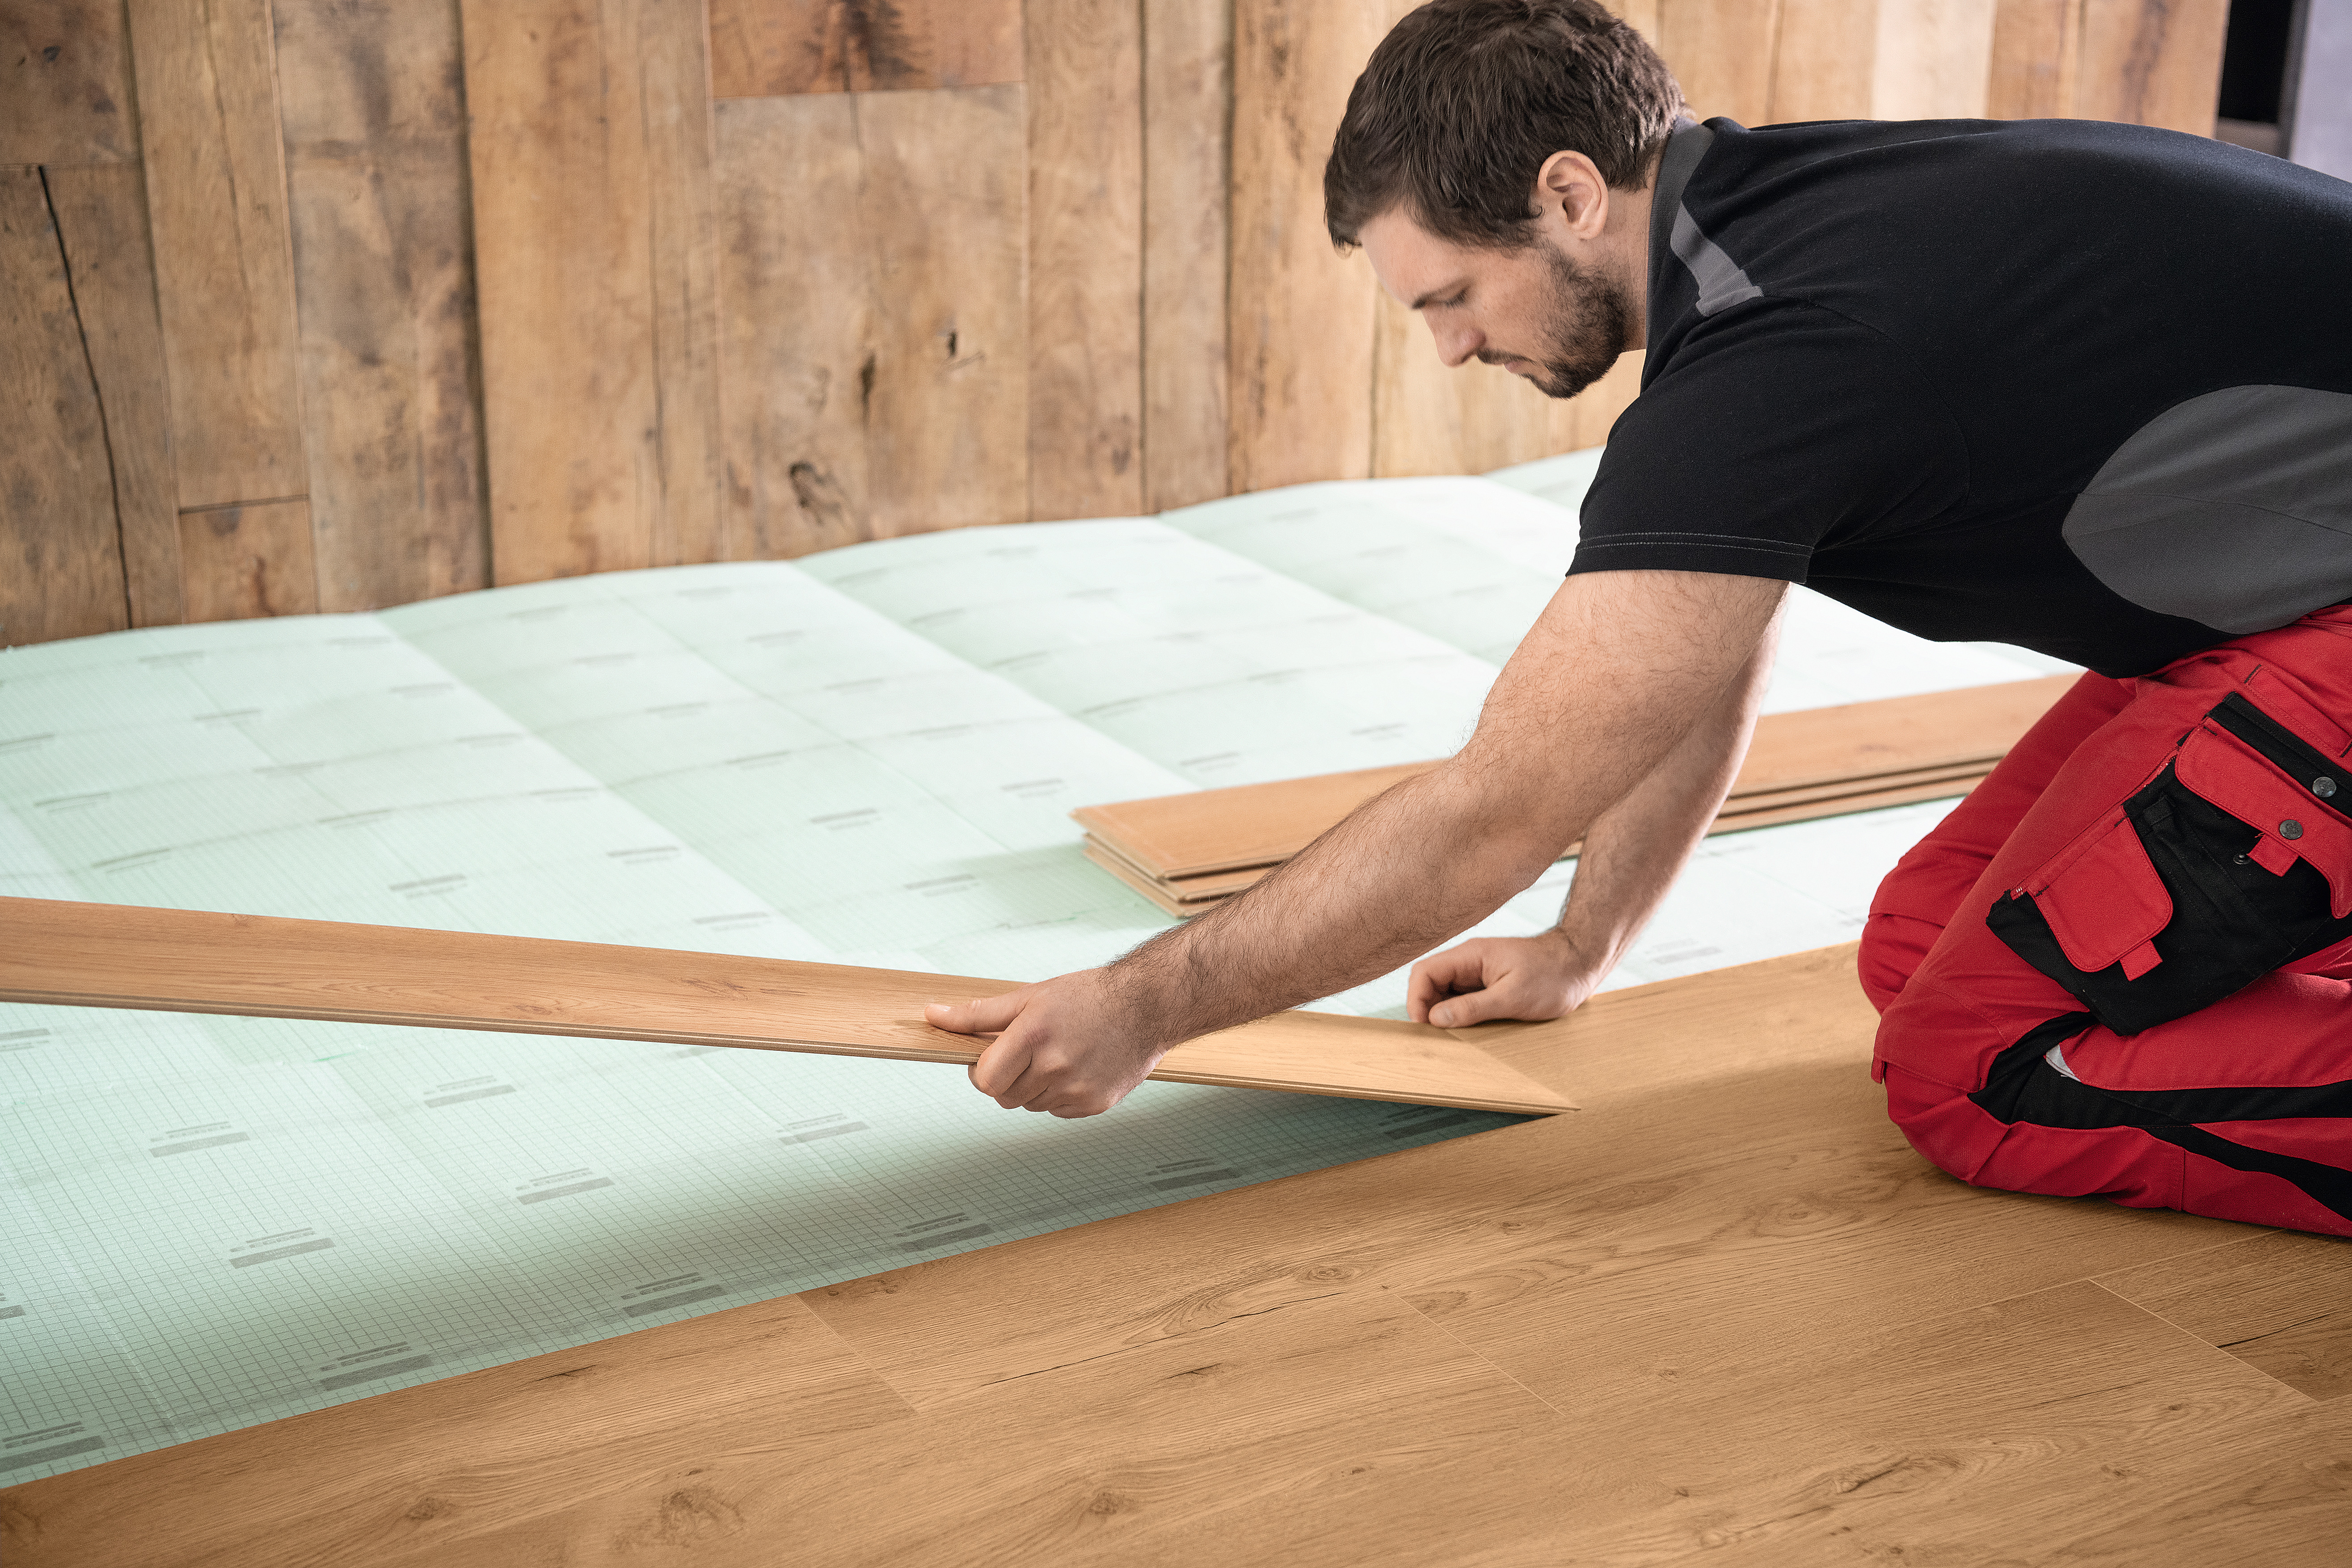
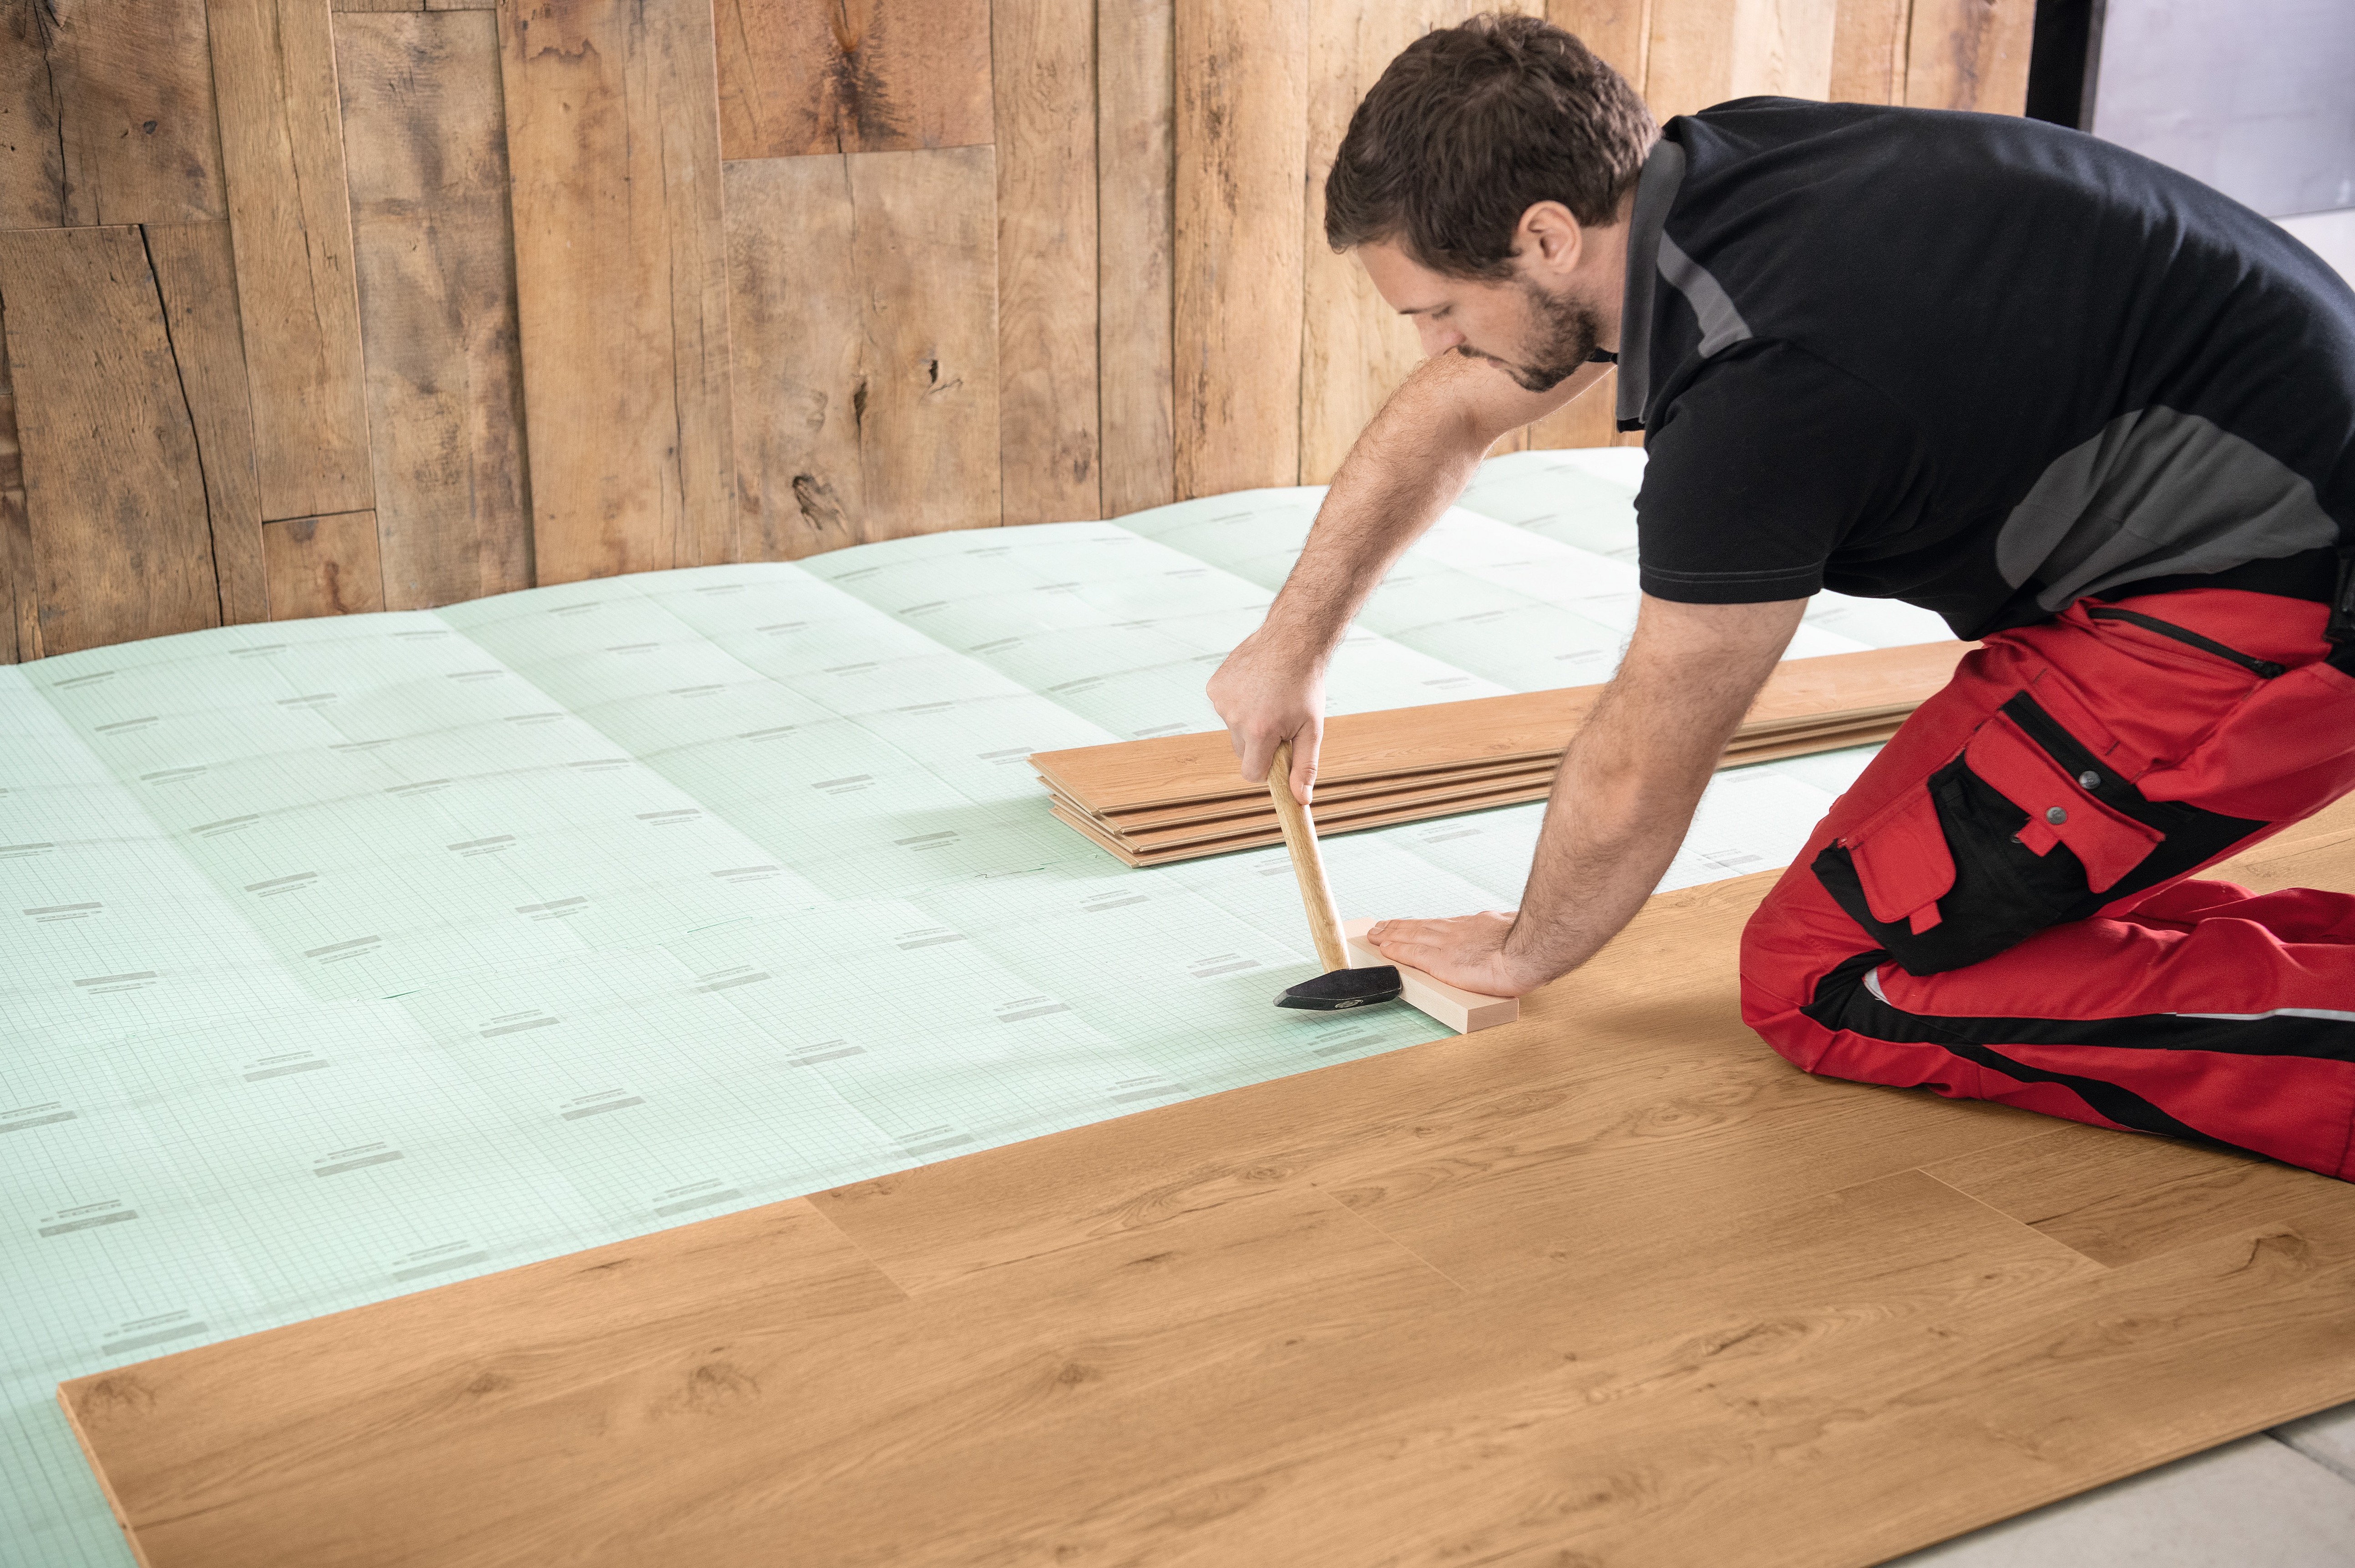
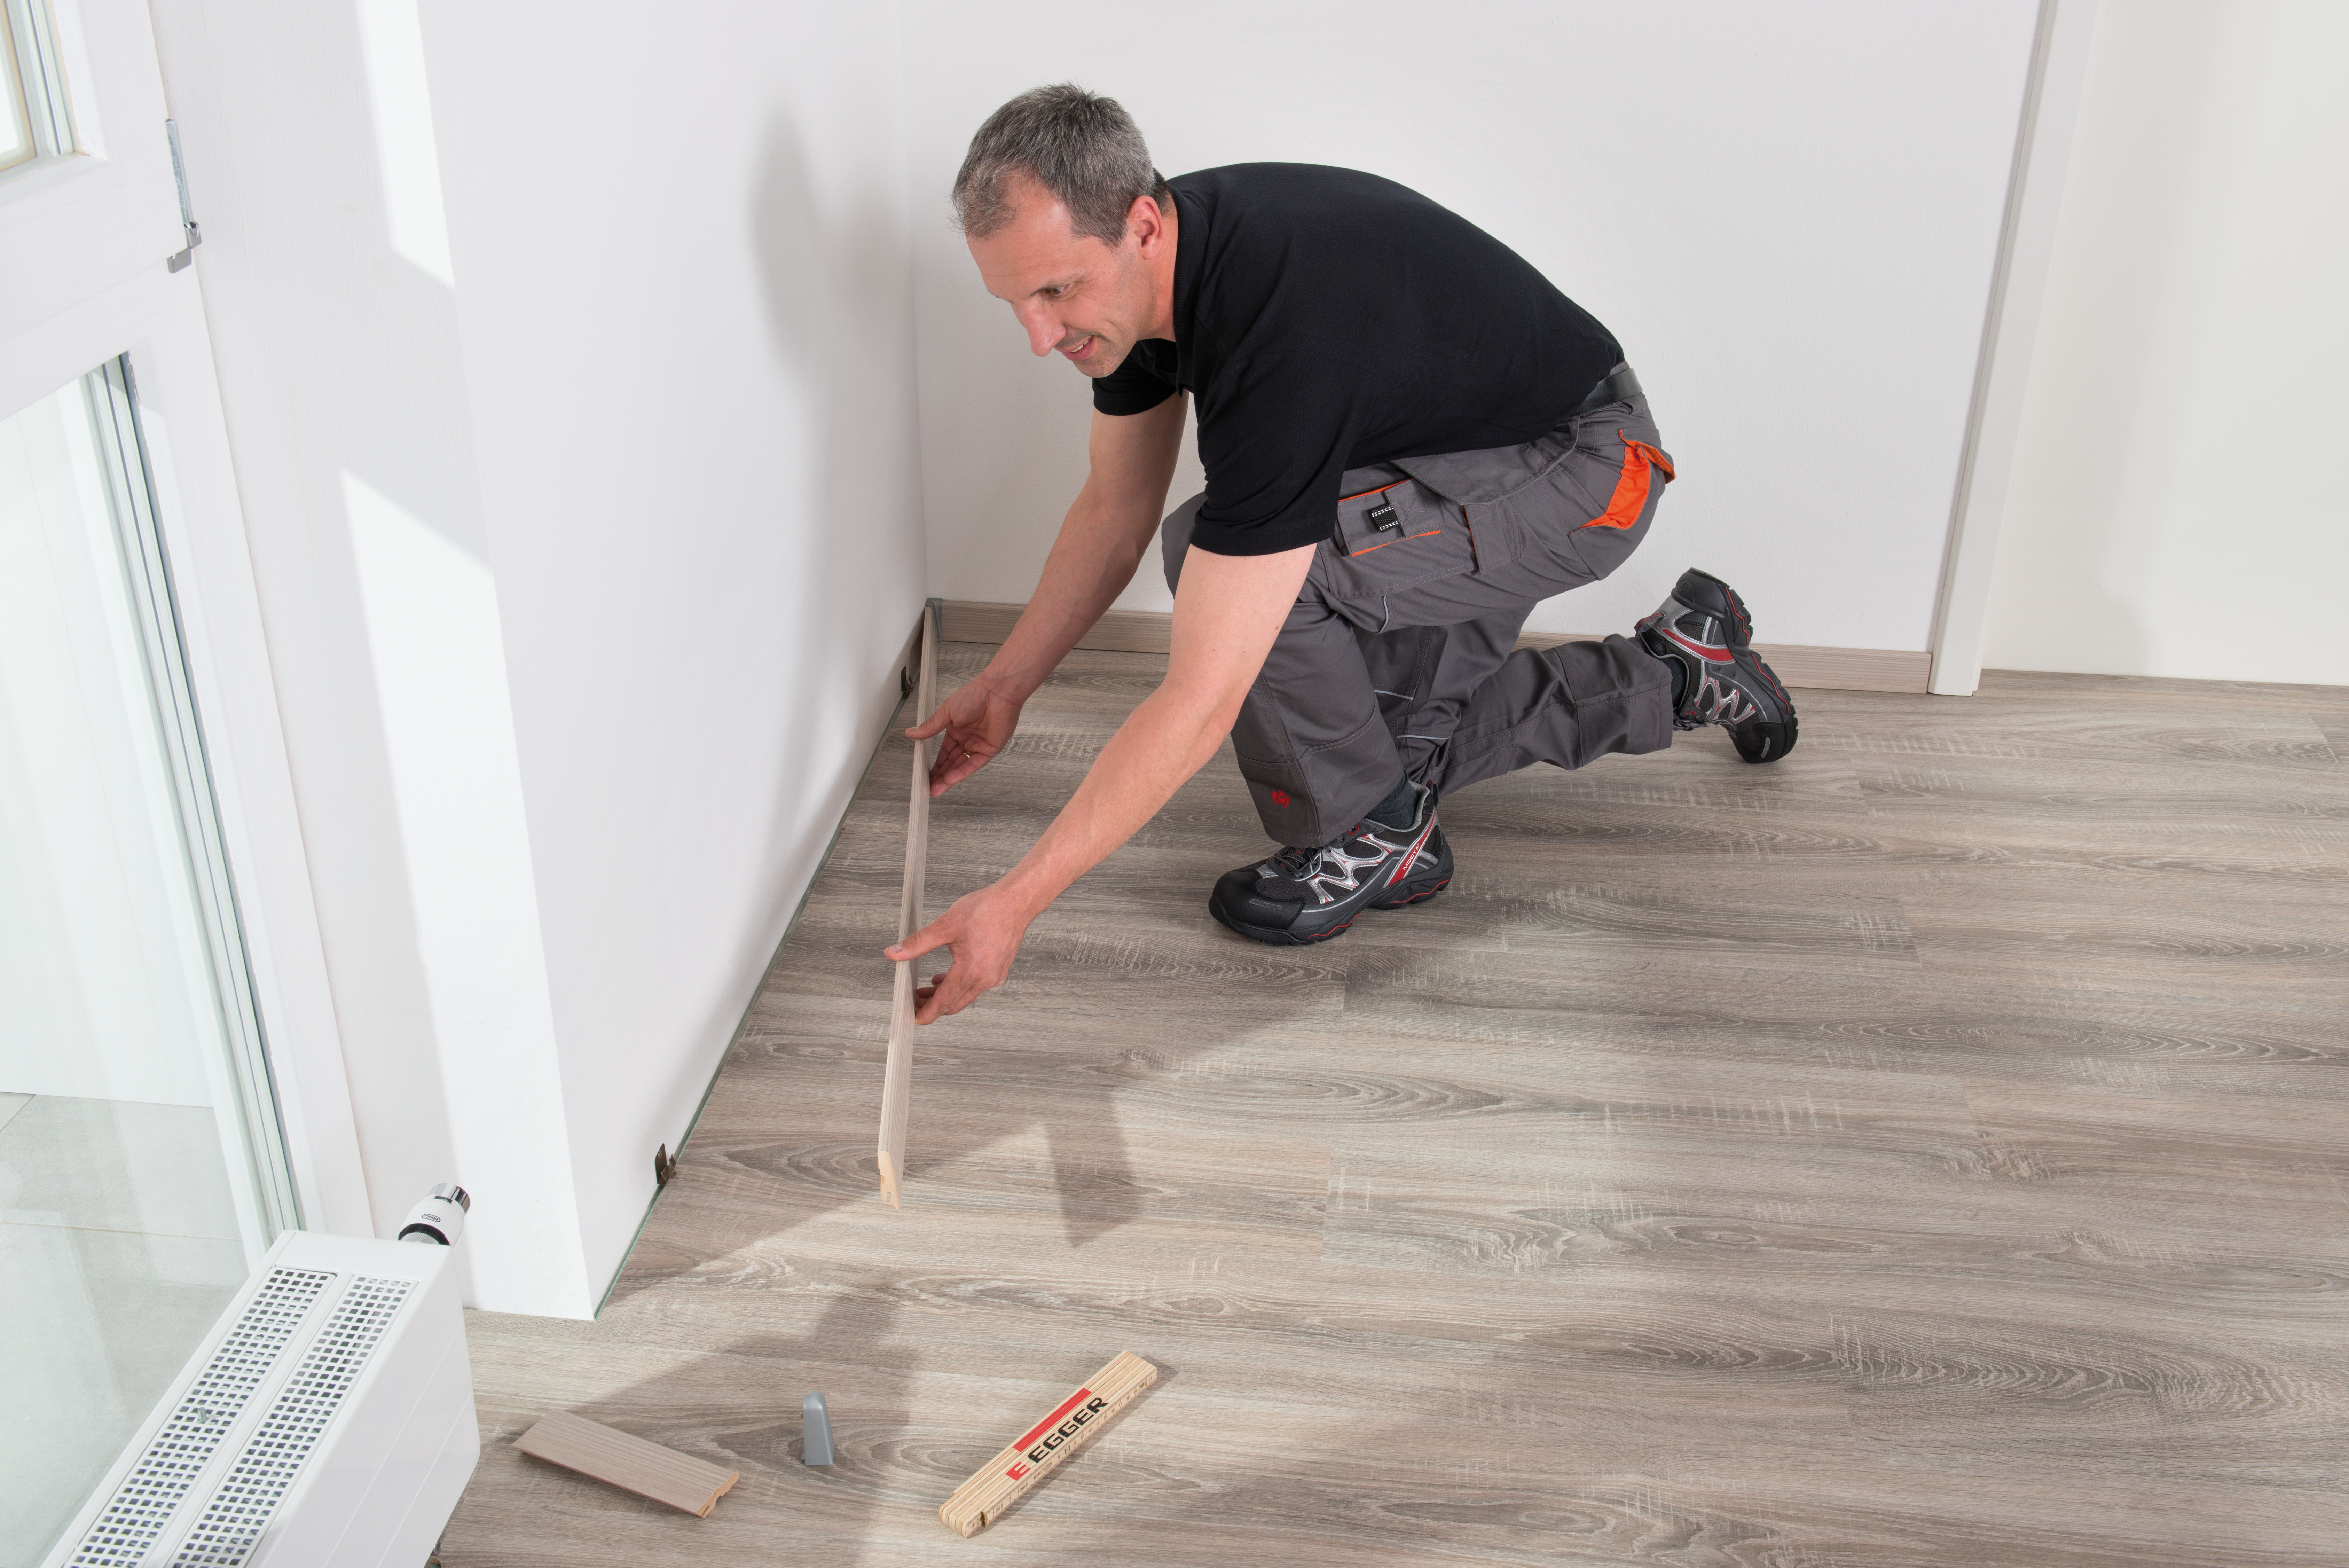
The EGGER PRO Flooring Collection 2021+ uses CLIC it!, a new flexible installation system which can be installed three ways. Watch the step-by-step video above to find out how to install an EGGER floor, and what elements needs to be considered.
Installation Downloads
Installing Flooring with CLIC it! system (PDF)
All EGGER flooring can be installed in private and commercial applications as a floating installation. For areas subject to high traffic full surface gluing installation can be used with PRO Design GreenTec. The installation method you choose is based on the type of flooring, flooring composition and application area.
Floating installation:
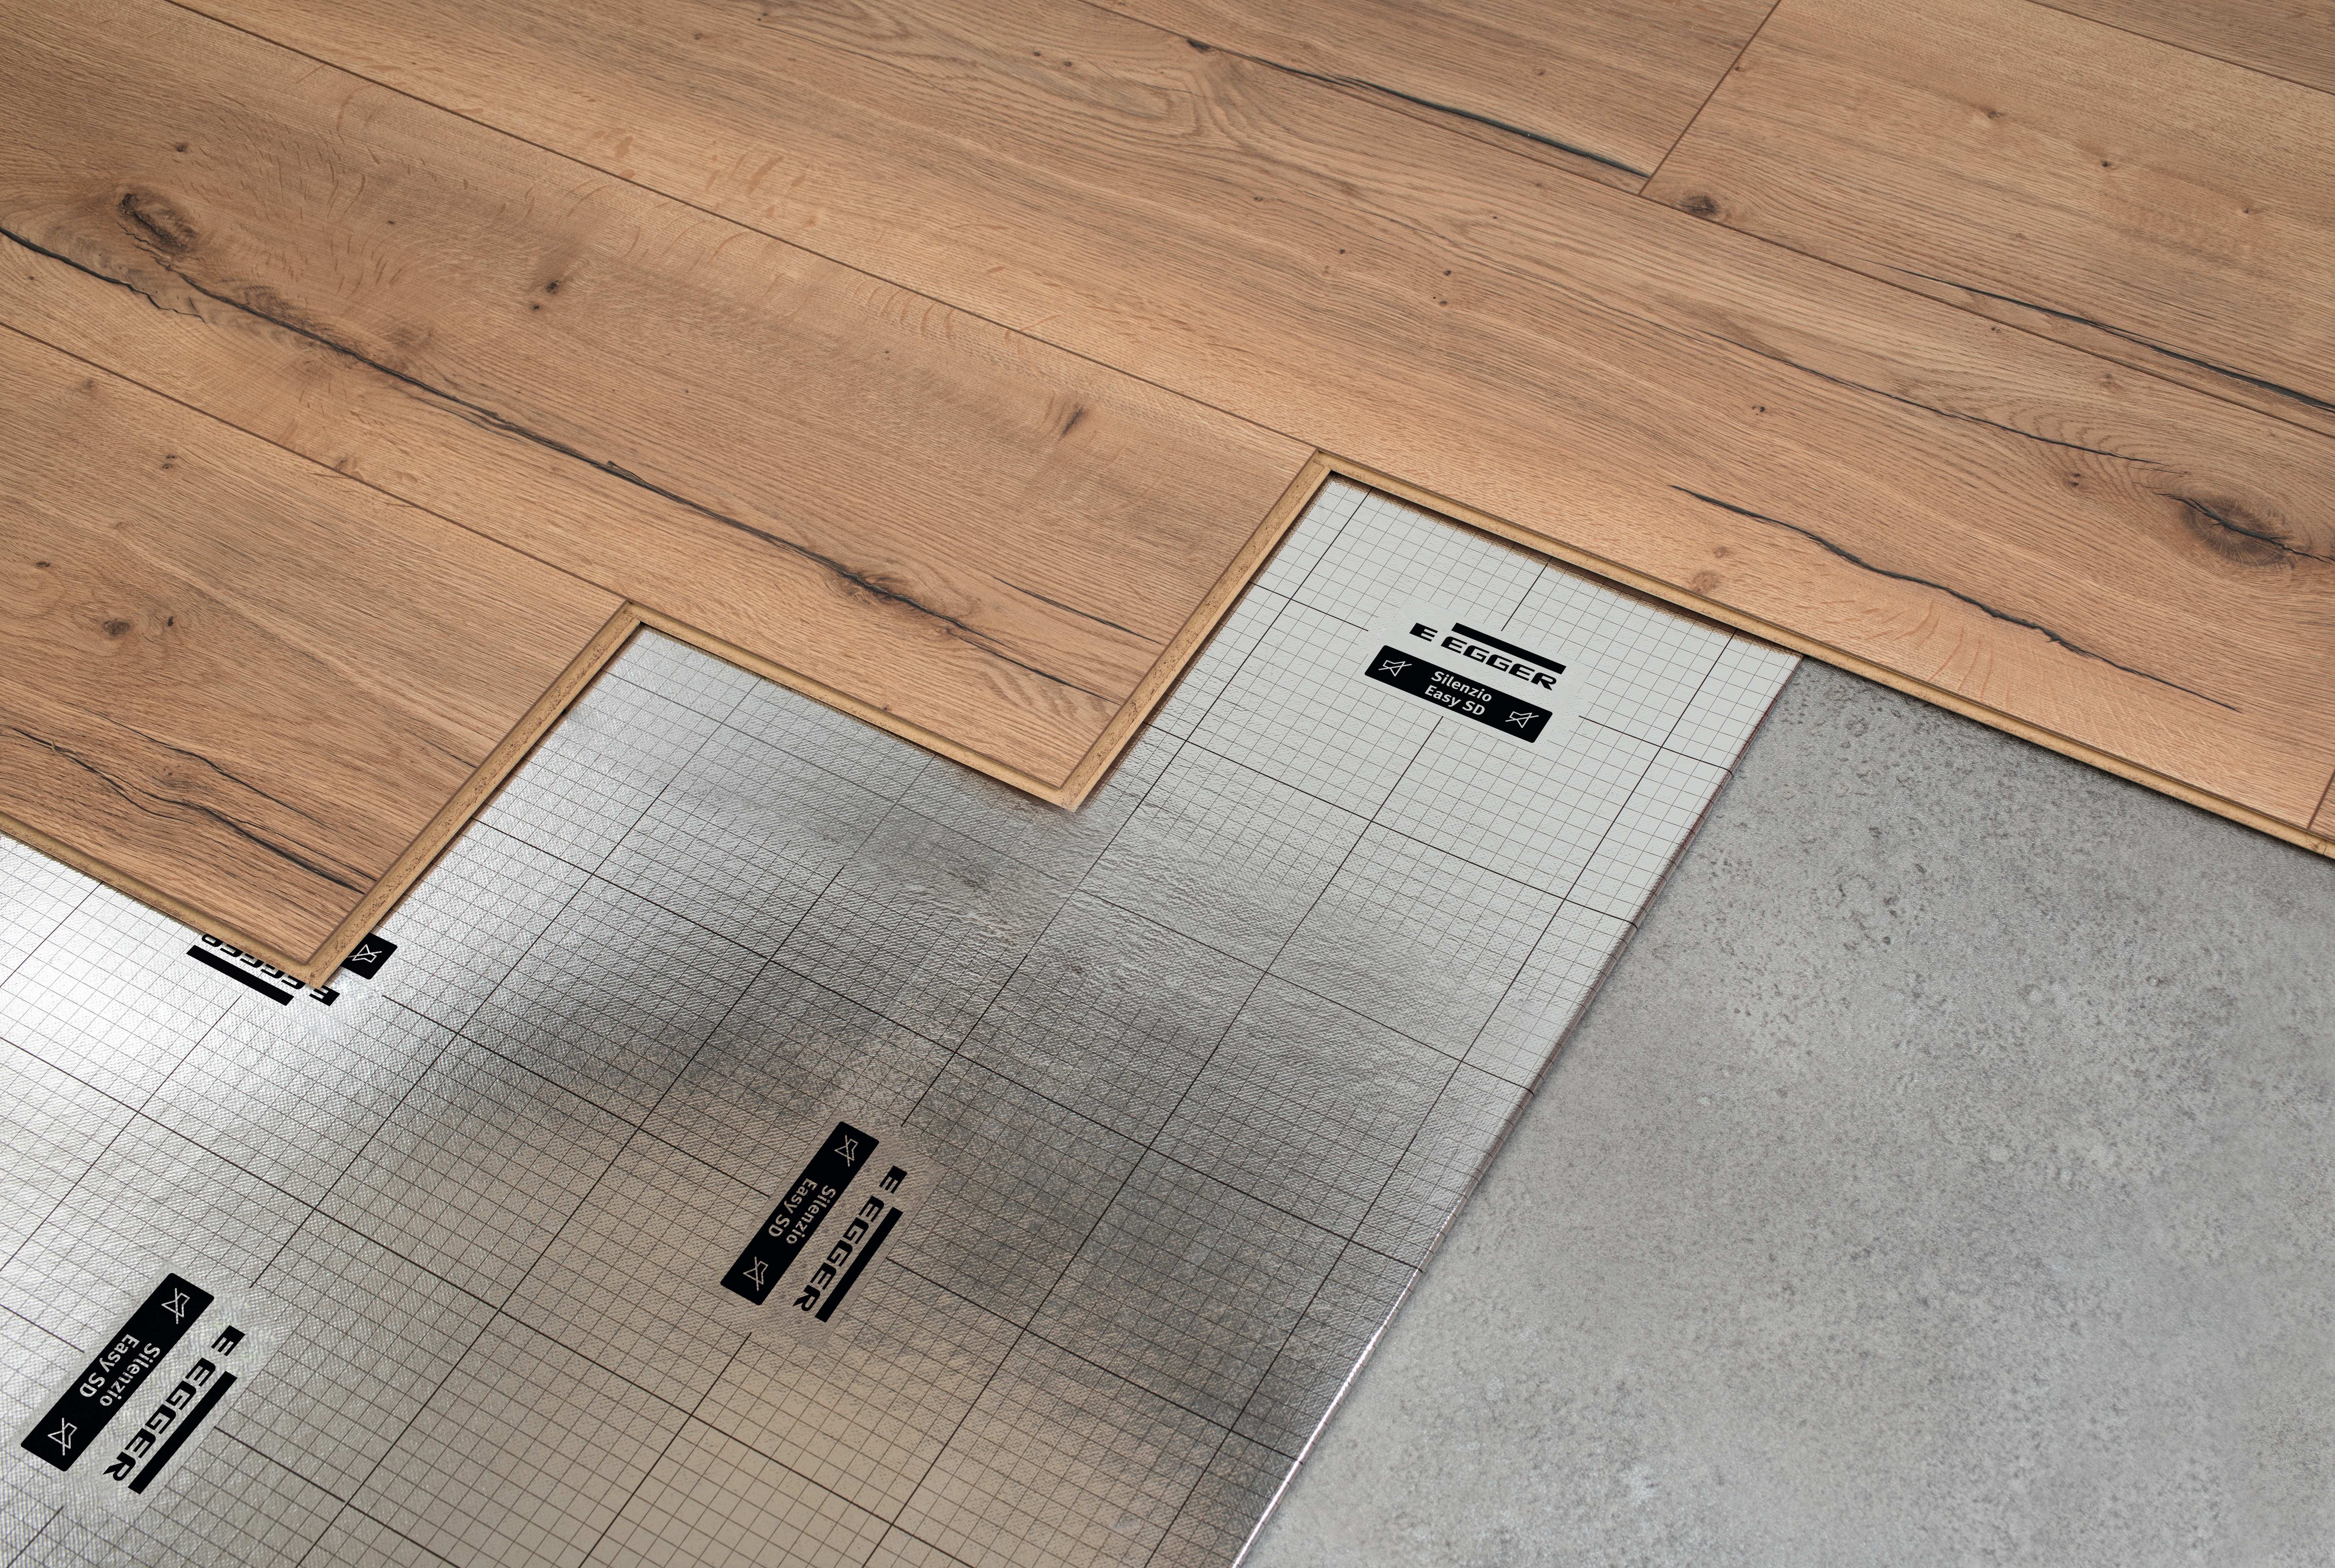
EGGER's flooring systems promote floating installation, as it is quick simple and flexible. The floor is not screwed or glued down. The individual boards are connected by their study pro-file and rest on the subfloor without a bond.
Full-surface gluing:
Full-surface gluing improves the ambient noise and walking comfort and is suitable for installations over a large area THe floor boards are connected together and placed on top of the adhesive to bond them to the sub-floor.

